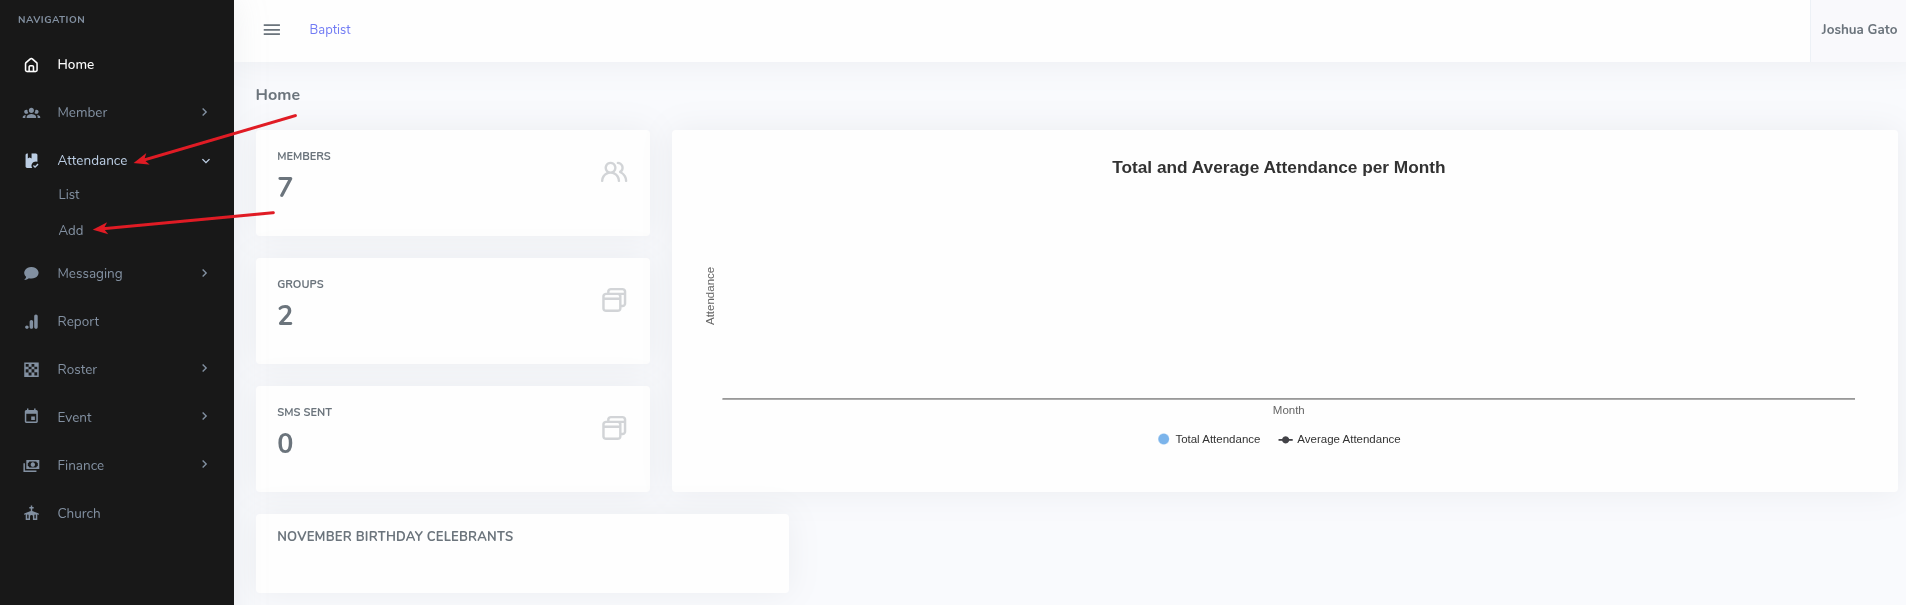
On the dashboard homepage, click on the Attendance menu option on the left sidebar
Under the dropdown that appears, click Add for the form to appear
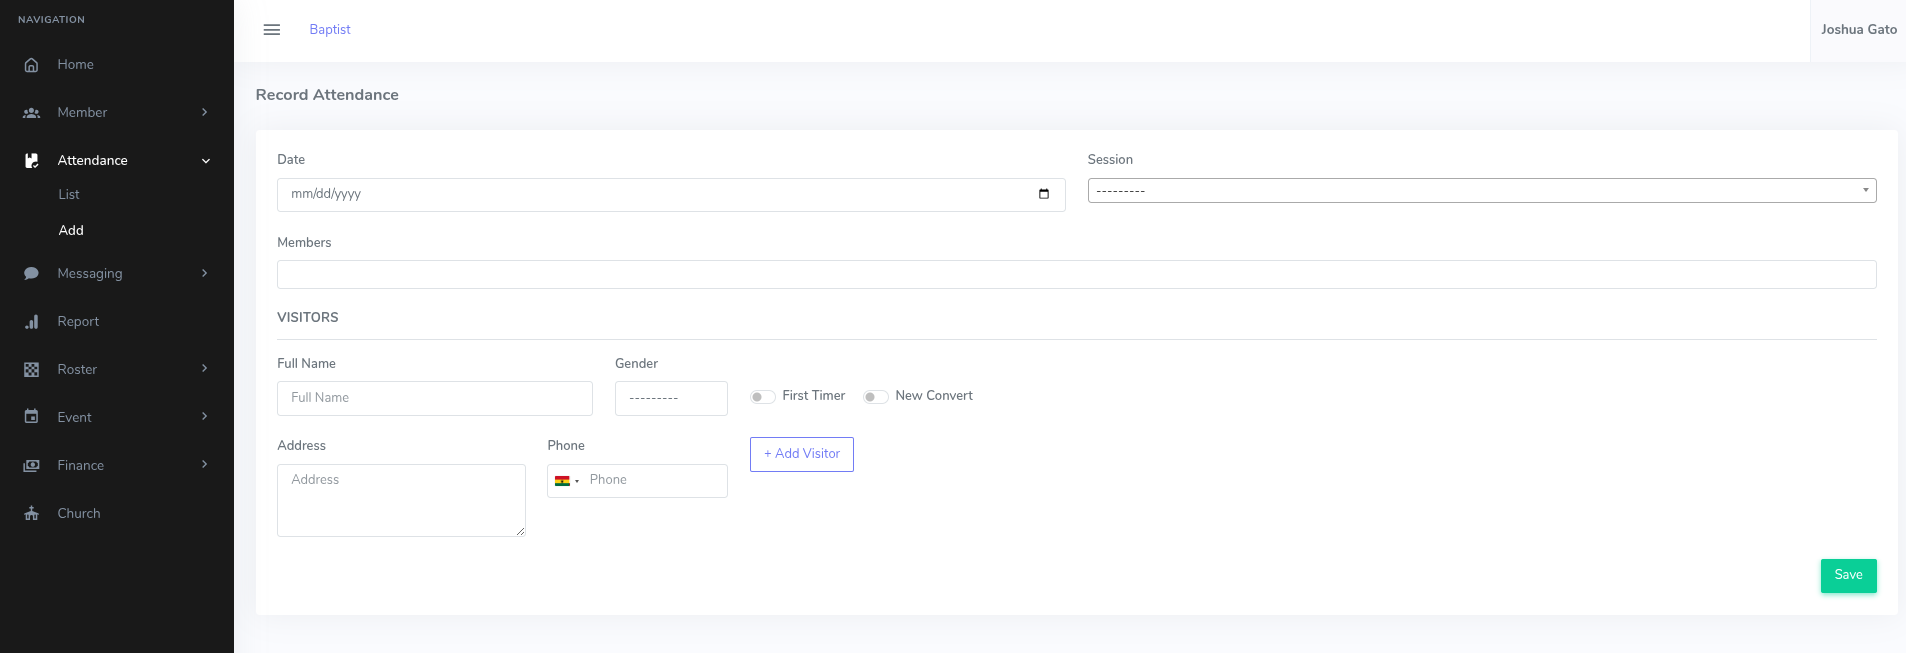
On the Record Attendance form:
Select the Date on which the attendance is being recorded for.
Select the Session on which the attendance is being recorded for.
(See the next section for notes on how to create sessions.)
Select Members who are present.
Under Visitors, if there is/are (a) visitor(s), enter Full Name,
select Gender, enter Address, enter Phone. If the visitor is a First Timer, toggle is on. If the visitor is a
New Convert, toggle it on.
If you want to add another visitor, Click the Add Visitor button and repeat the previous step
Click Save
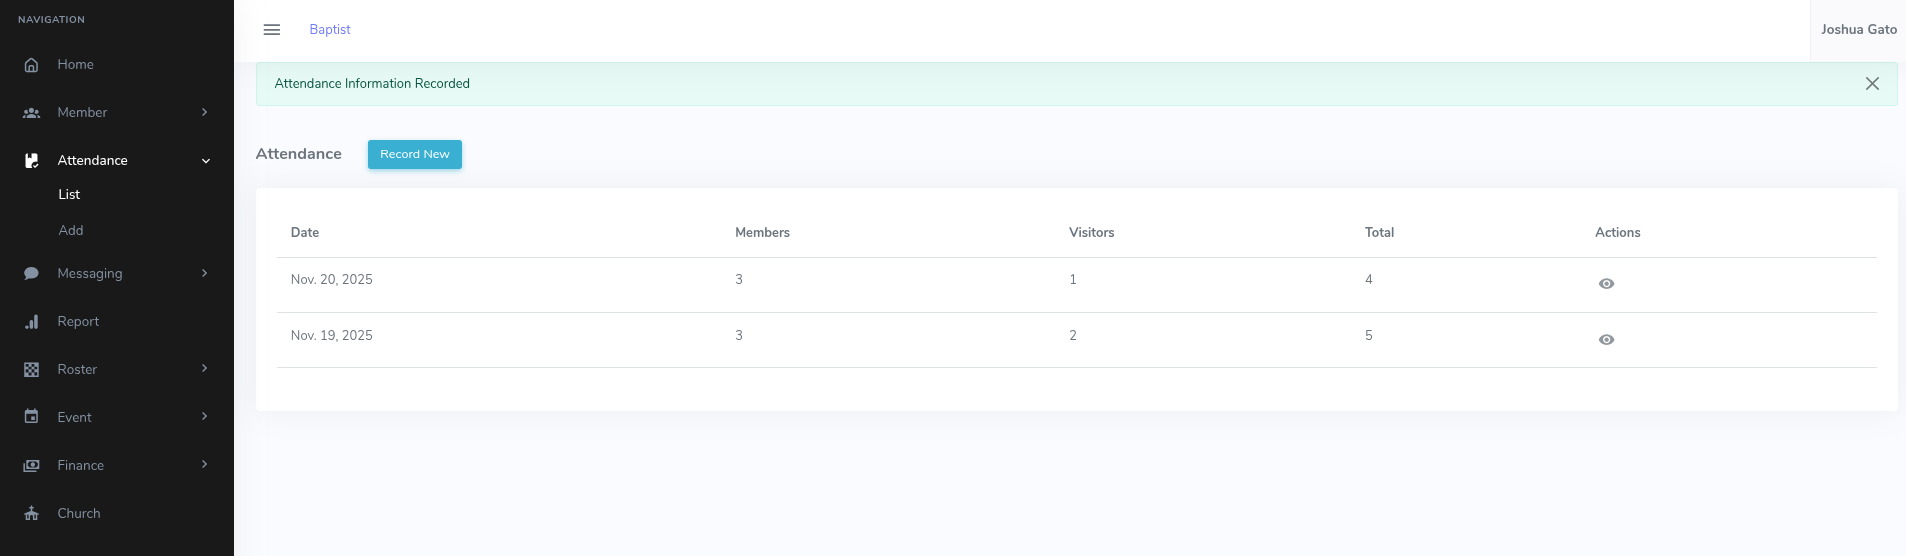
If Successful, a success message will be displayed at the top like Attendance Information Recorded.
Add Service
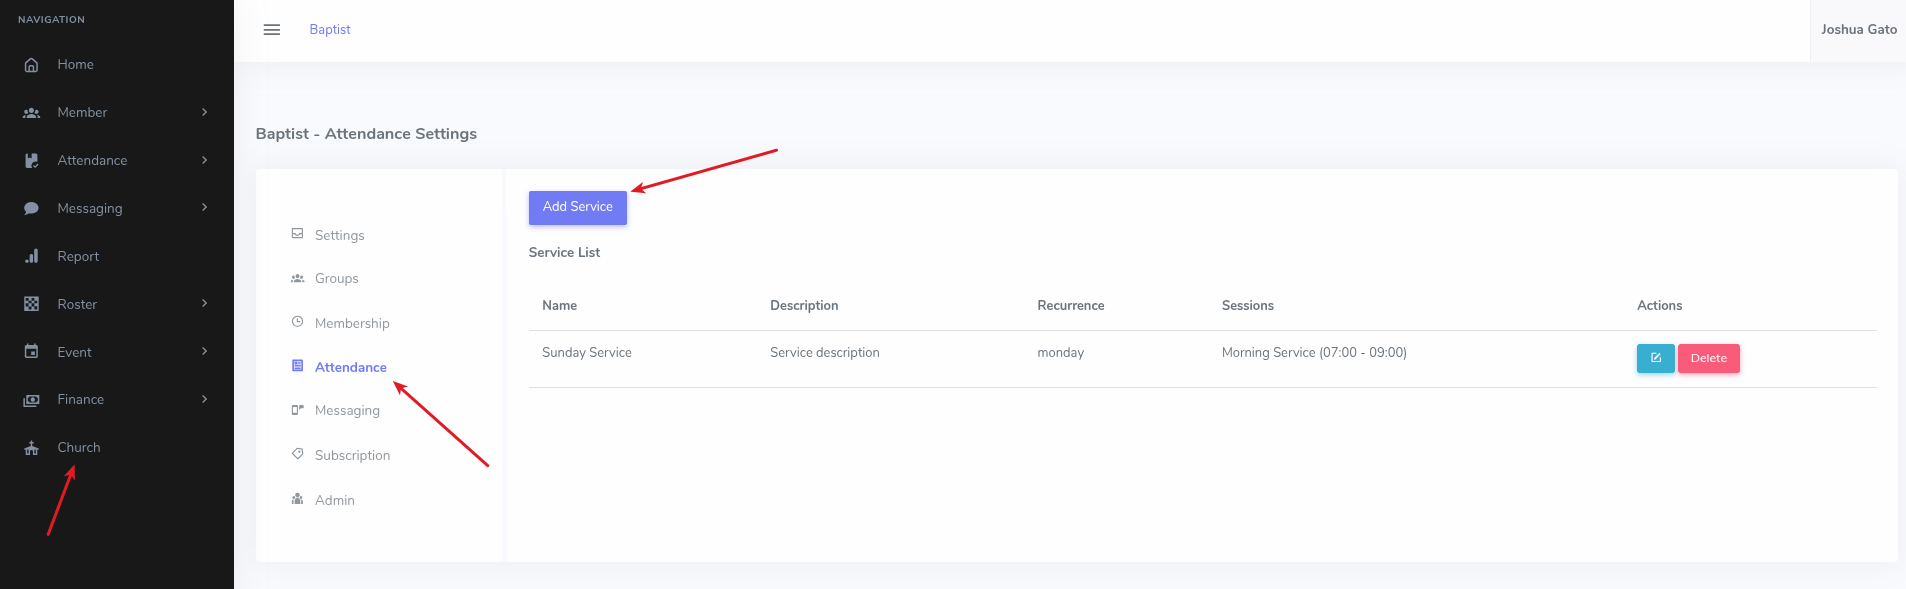
On the dashboard homepage, click on the Church menu option on the left sidebar
On the page that appears, click Attendance.
On the page that appears, click the Add Service button. (This should make a form appear)
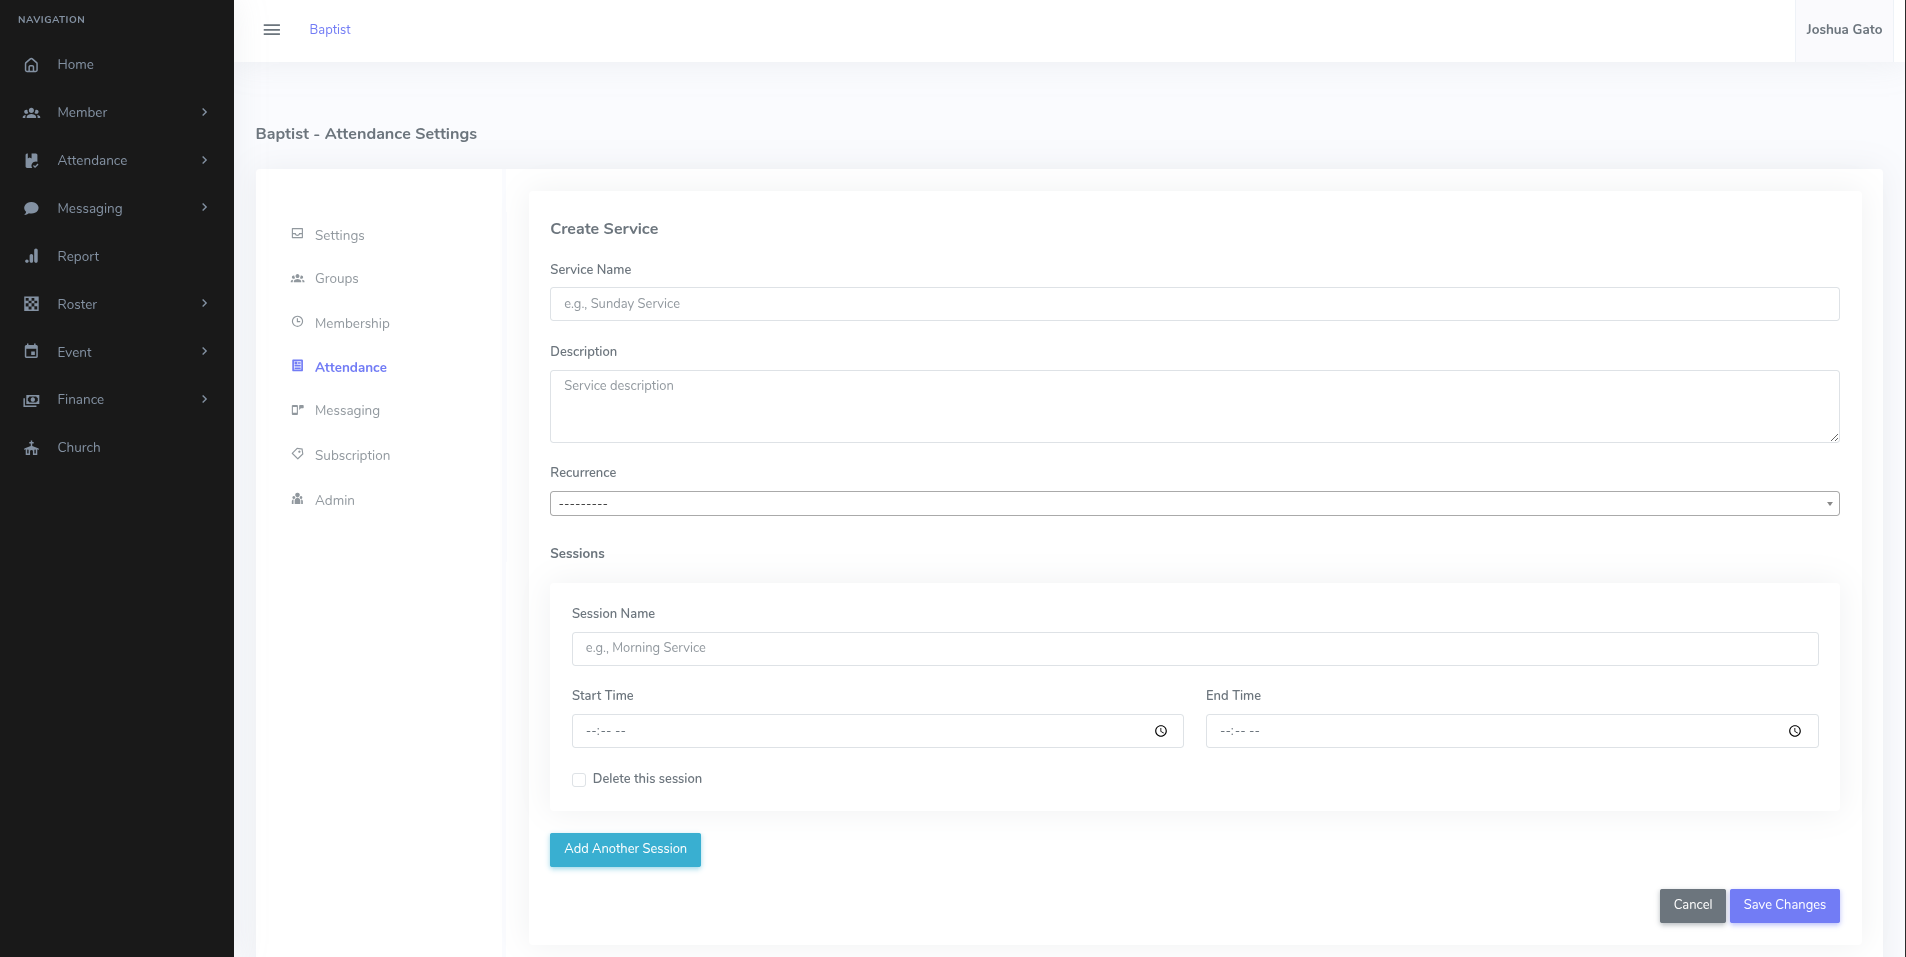
On the Create Service form:
Enter a suitable Service Name.
You can optionally enter a Description.
Select Recurrence.
Under Sessions, enter a situable Session Name.
Select Start Time and End Time button and repeat the previous step
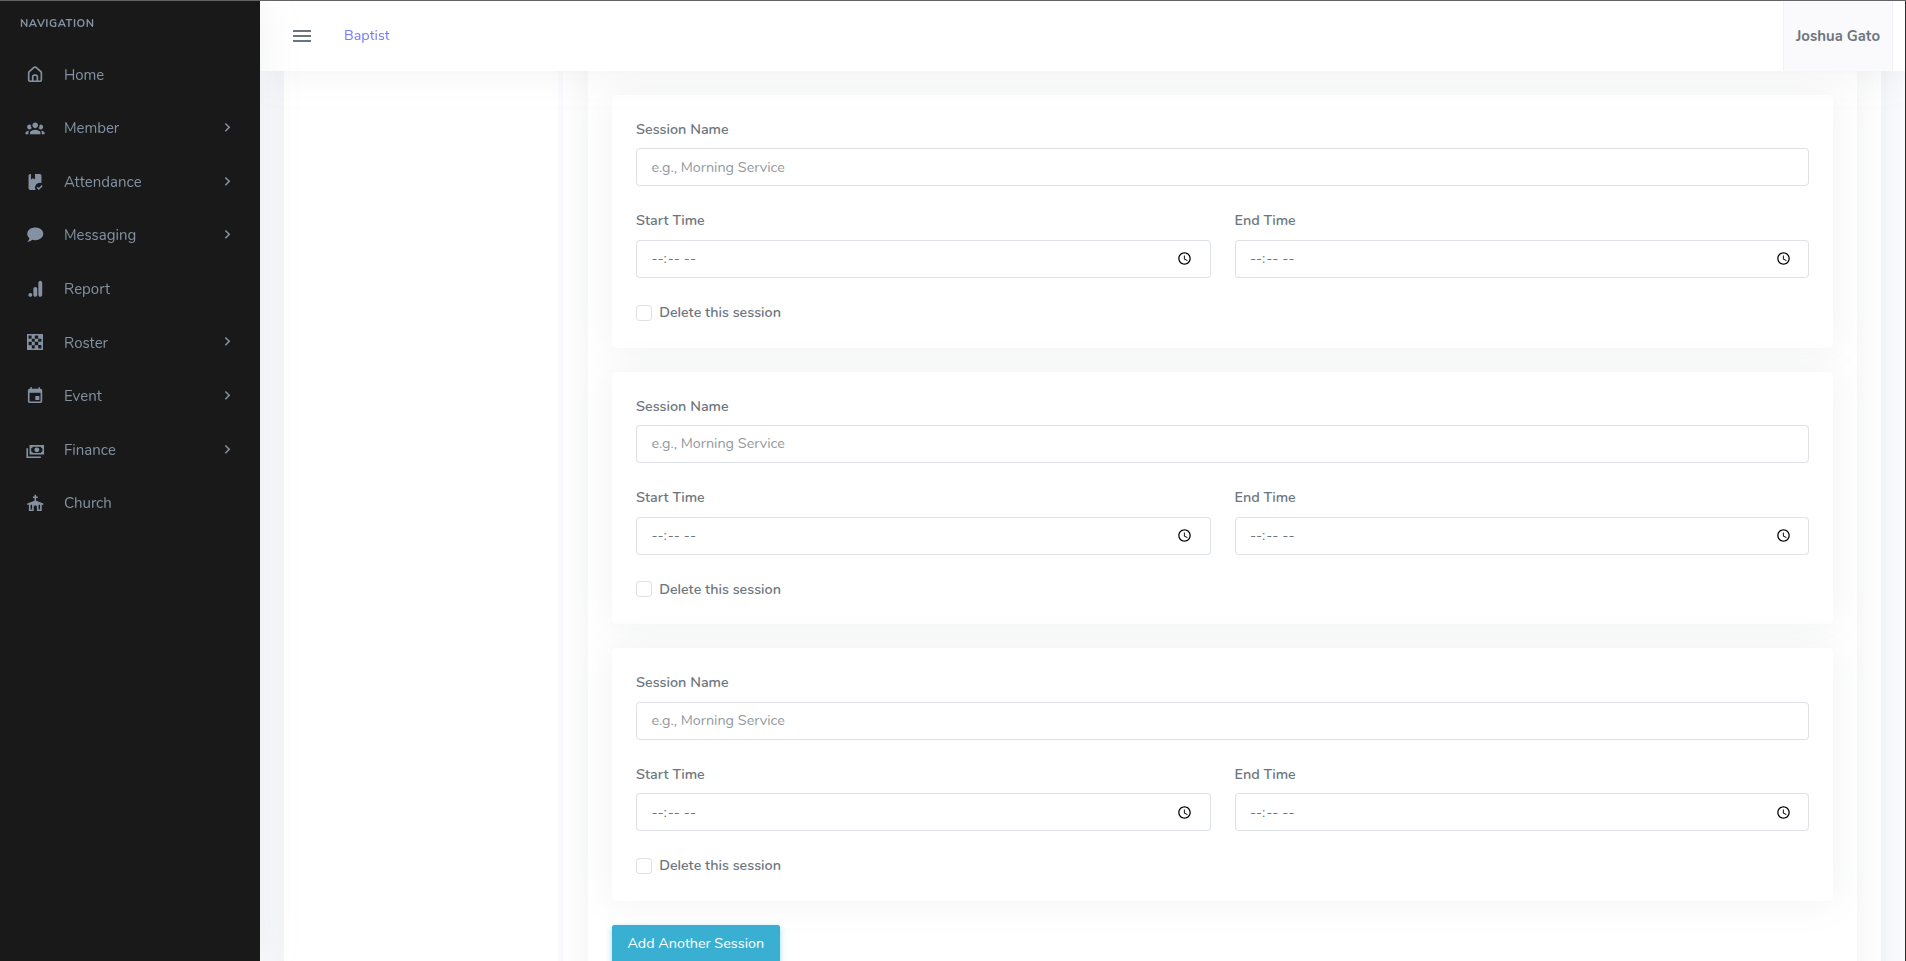
If you want to add more sessions click the Add Another Session button.
(This will cause another form for adding a session to appear as seen in the image below).
You can then enter the session details just as stated in the previous steps
If you want to delete a session so that it's not saved when you submit the form, click/check the Delete this session checkbox.
Click Save Changes
If Successful, a success message will be displayed at the top like Service created successfully!
Edit/Update Service
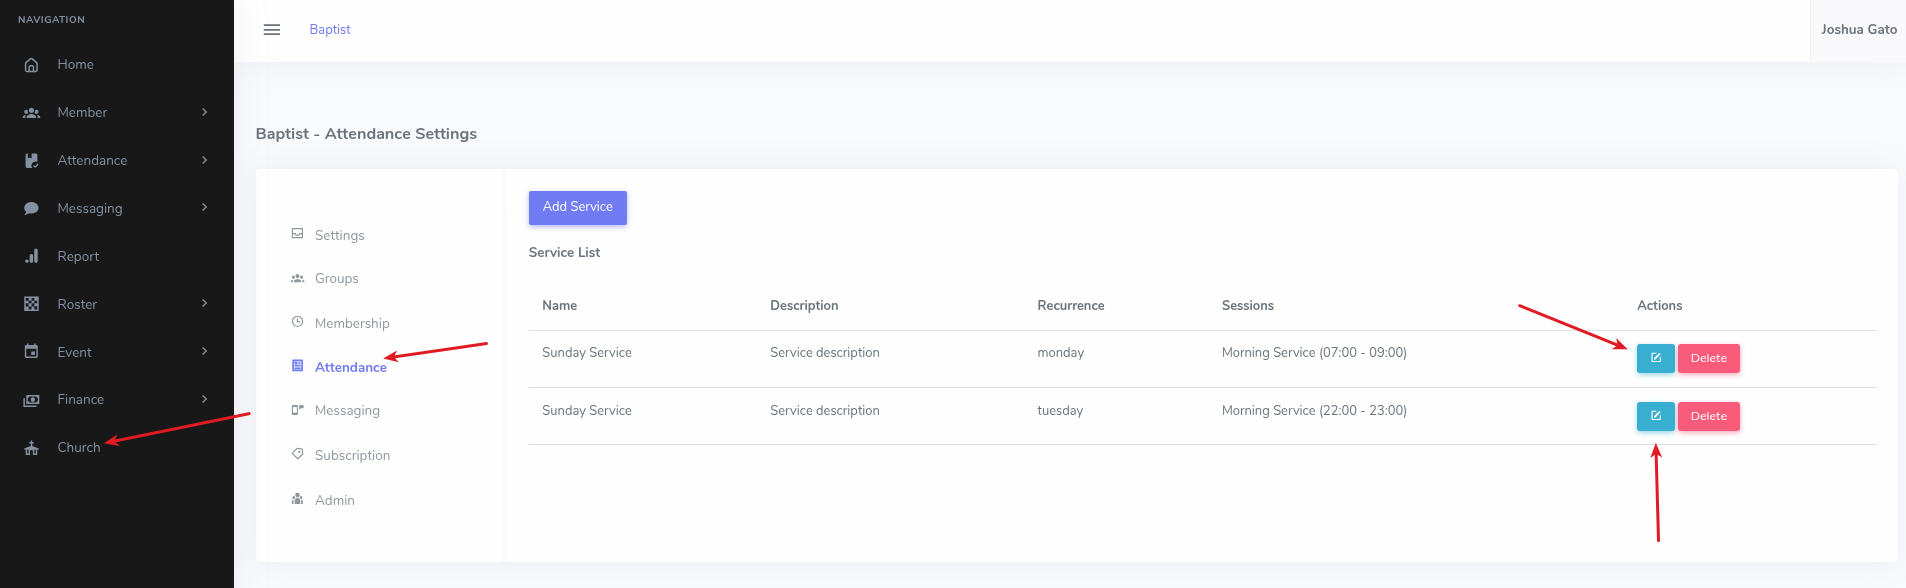
On the dashboard homepage, click on the Church menu option on the left sidebar
On the page that appears, click Attendance.
On the page that appears with Service List, click
Pencil on Paper Icon for the service/session you want to update.
That should open the form which you can use to update the session's details
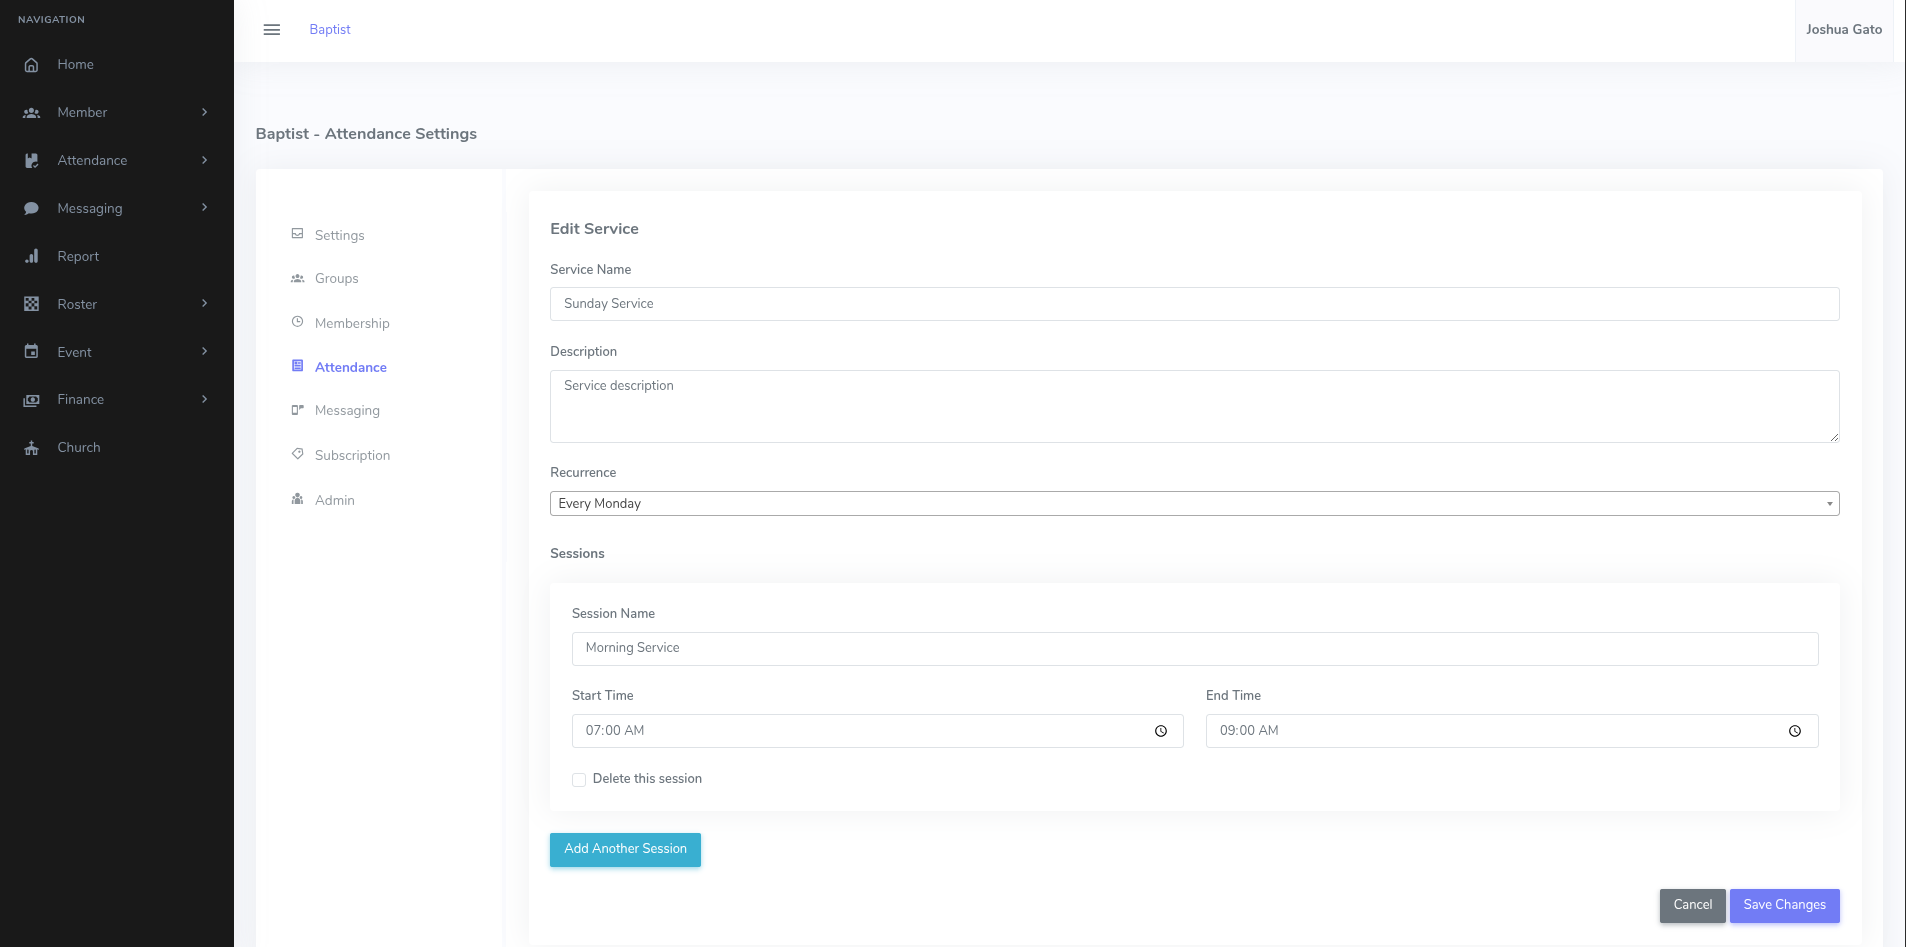
On the Edit Service form:
Make the necessary changes and click Save Changes
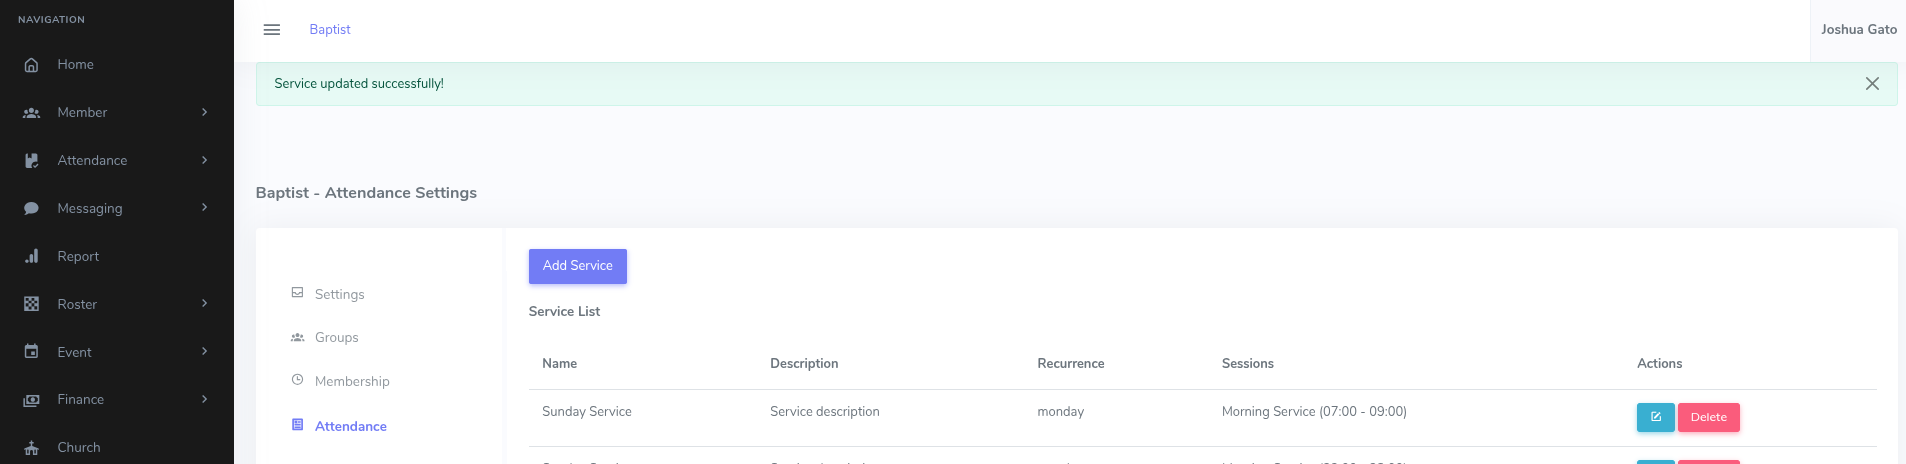
If Successful, a success message will be displayed at the top like Service updated successfully!
Delete Service
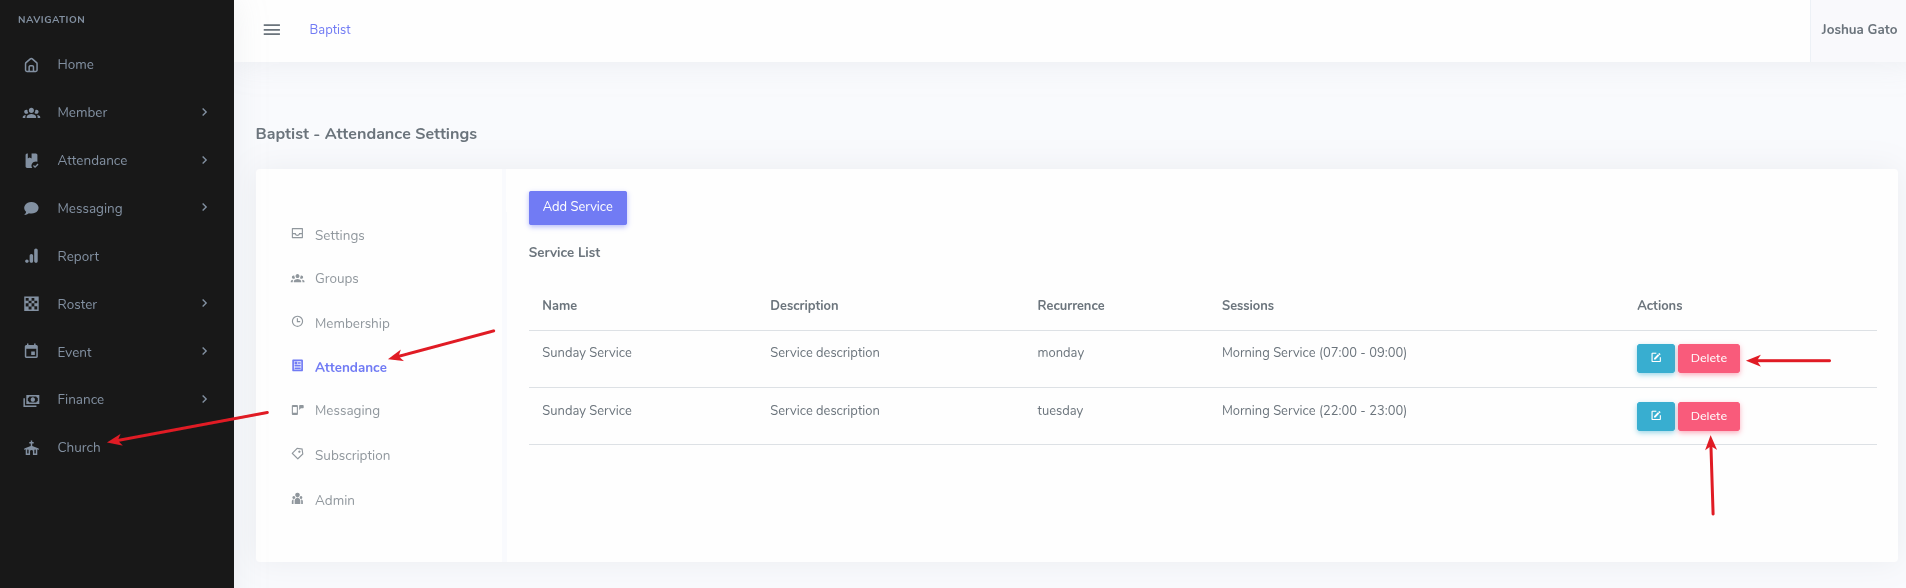
On the dashboard homepage, click on the Church menu option on the left sidebar
On the page that appears, click Attendance.
On the page that appears with Service List, click the
Delete button for the Service you want to delete.
That should open the form which you can use to update the session's details
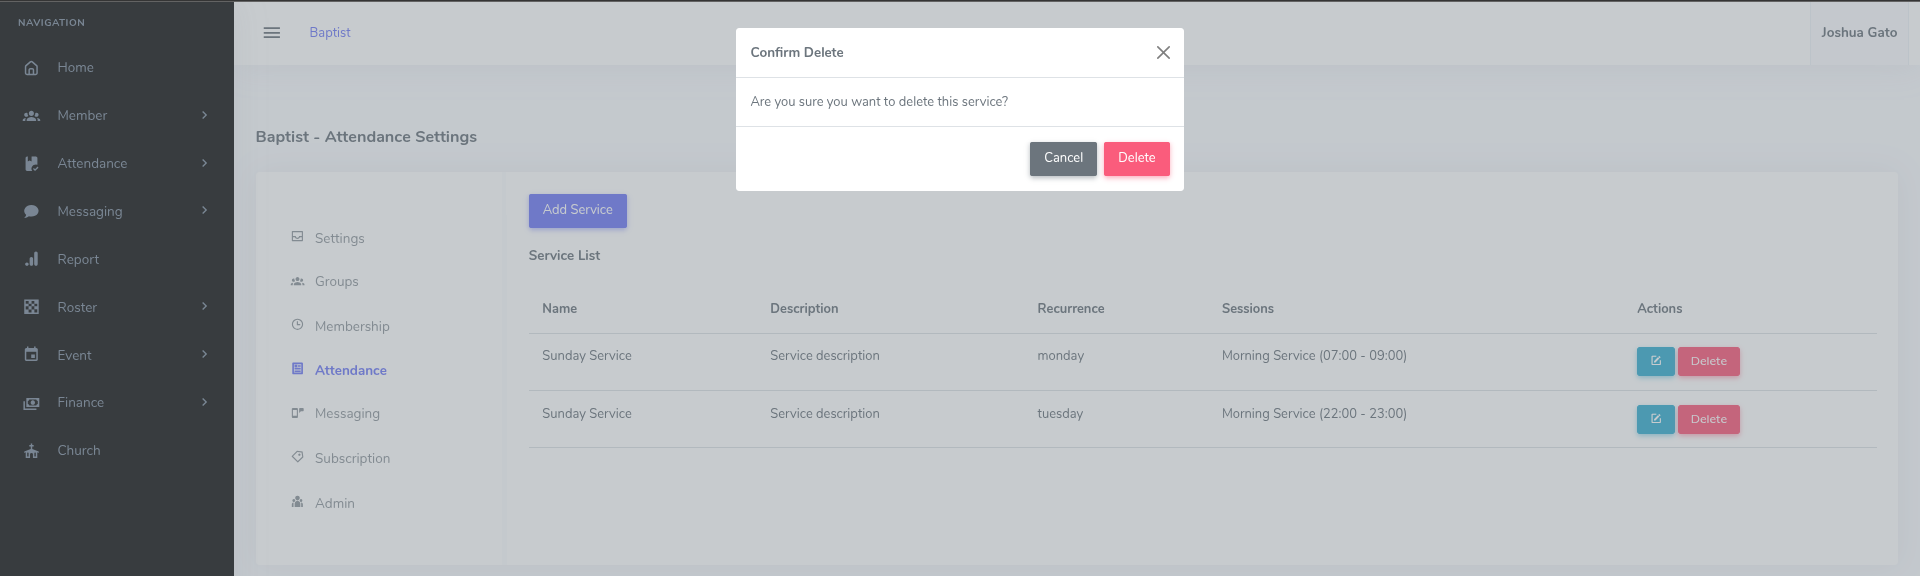
On the Confirmation Popup that appears:
Click on the Delete button.
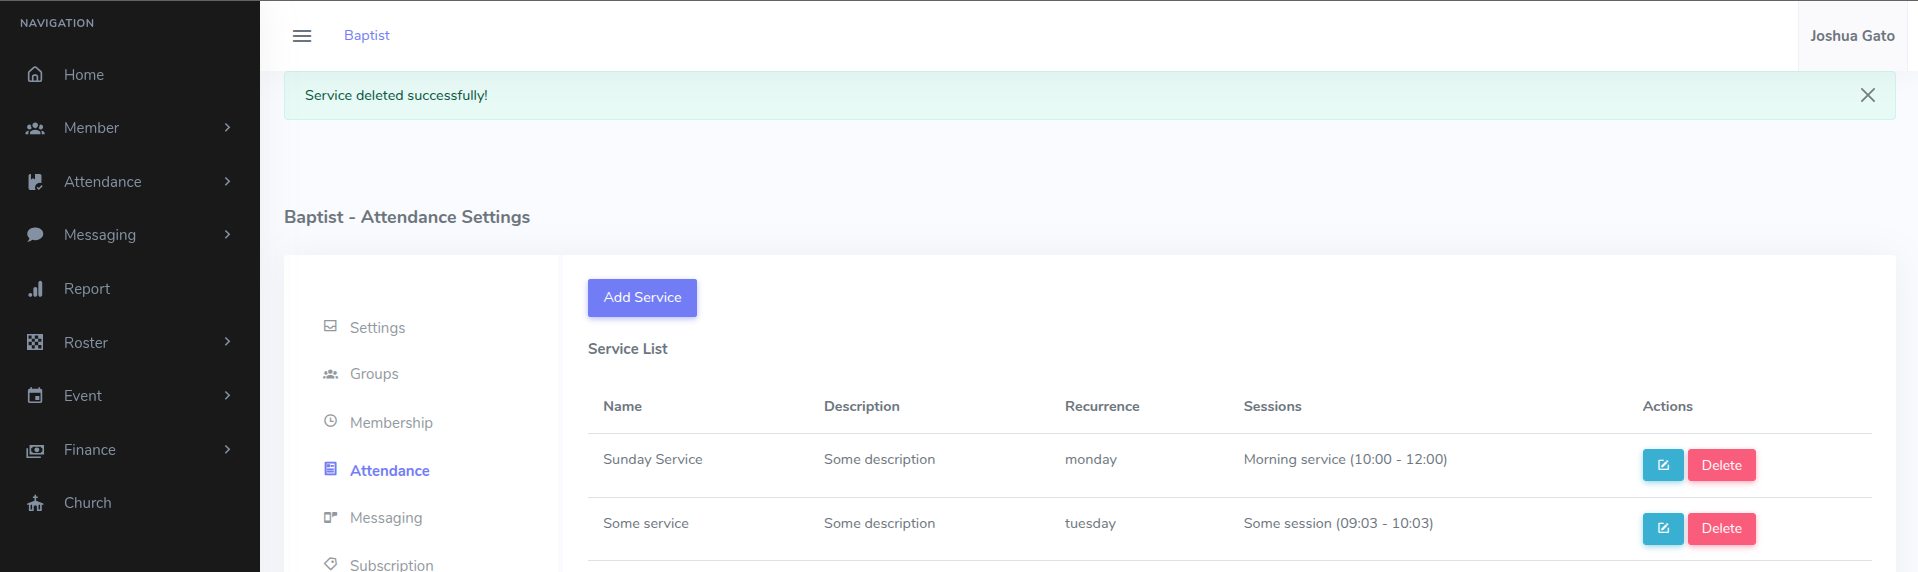
If Successful, a success message will be displayed at the top like Service deleted successfully!