Add Finance
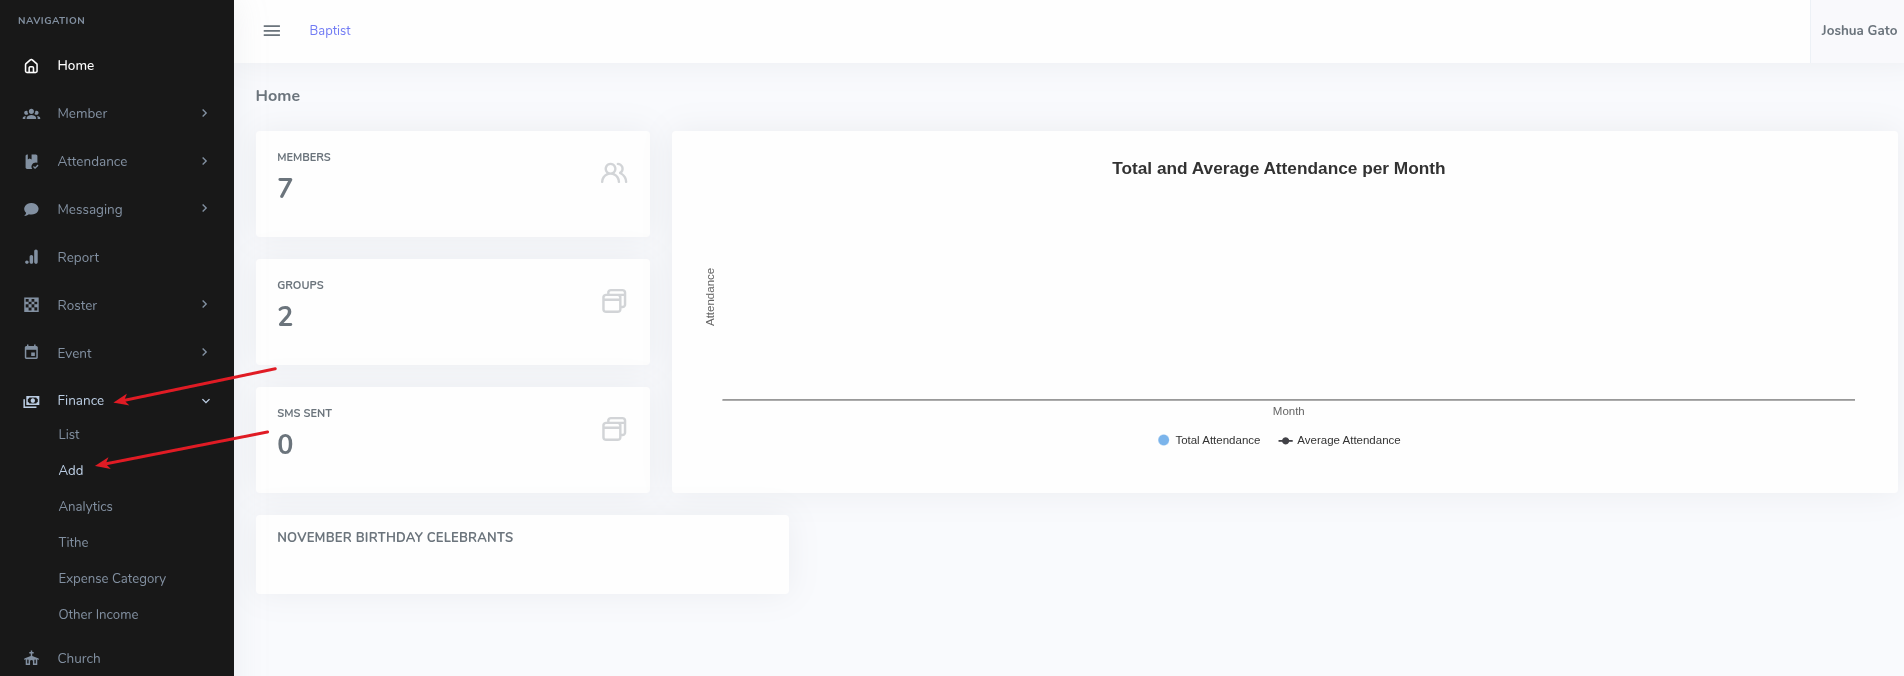
- On the dashboard, click on the Finance menu option on the left sidebar
- Under the dropdown that appears, click Add for the form to appear
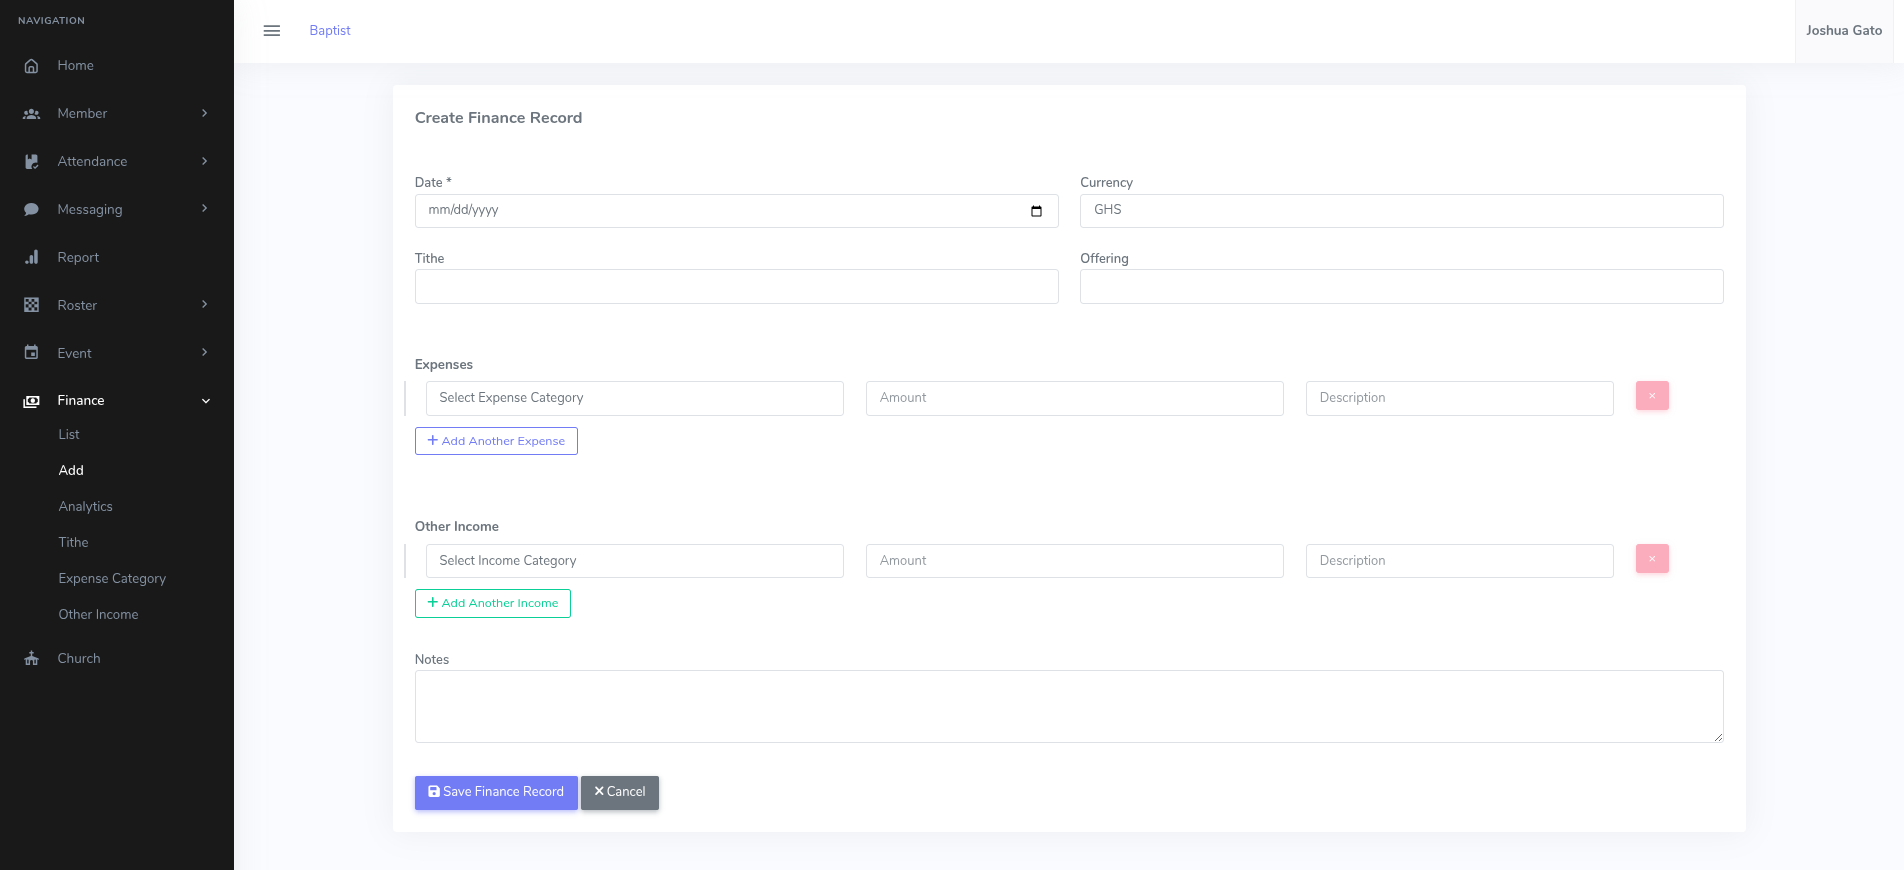
- On the Create Finance Record form:
- Select the Date for the record.
- Select the Currency for the record.
- Enter an amount for Tithe if there is.
- Enter an amount for Offering if there is.
- Under the Expenses section:
- Select the Expense Category for the record.
- Enter the Amount for the expense category.
- You can optionally enter a Descriptiom for the expense category.
- If you want to add more expense records click the Add Another Expense button and repeat the three previous steps.
- Under the Other Income section:
- Select the Income Category for the record.
- Enter the Amount for the income category.
- You can optionally enter a Descriptiom for the expense category.
- If you want to add more expense records click the Add Another Income button and repeat the three previous steps.
- You can optionally enter Notes for the finance records.
- Click the blue Save Finance Record button.
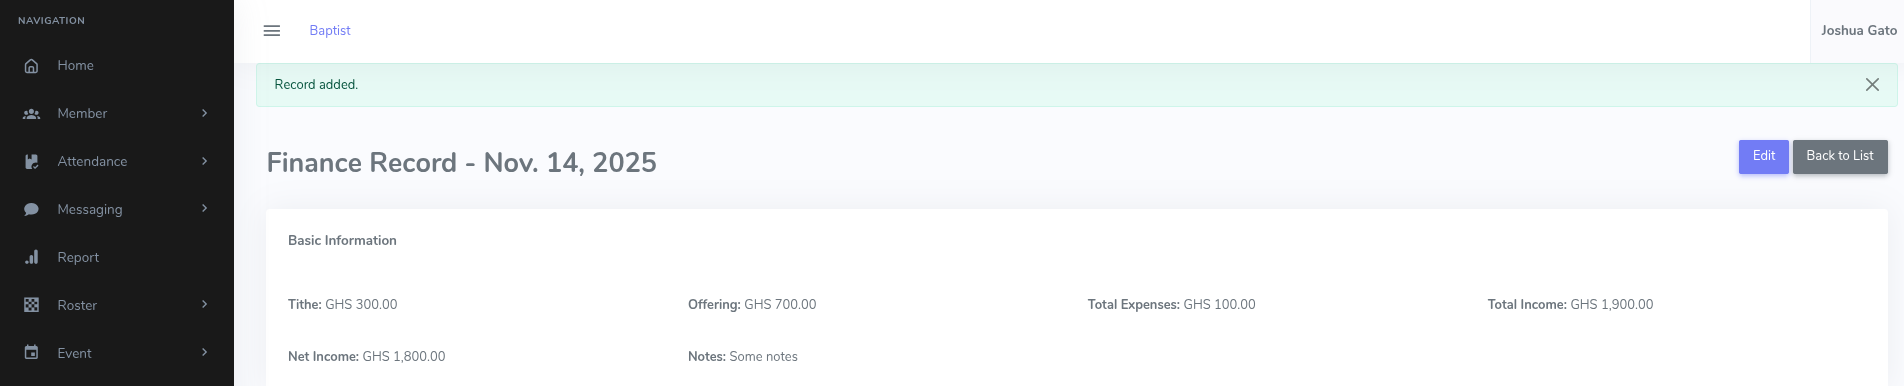
- If Successful, a success message will be displayed at the top like Record added.
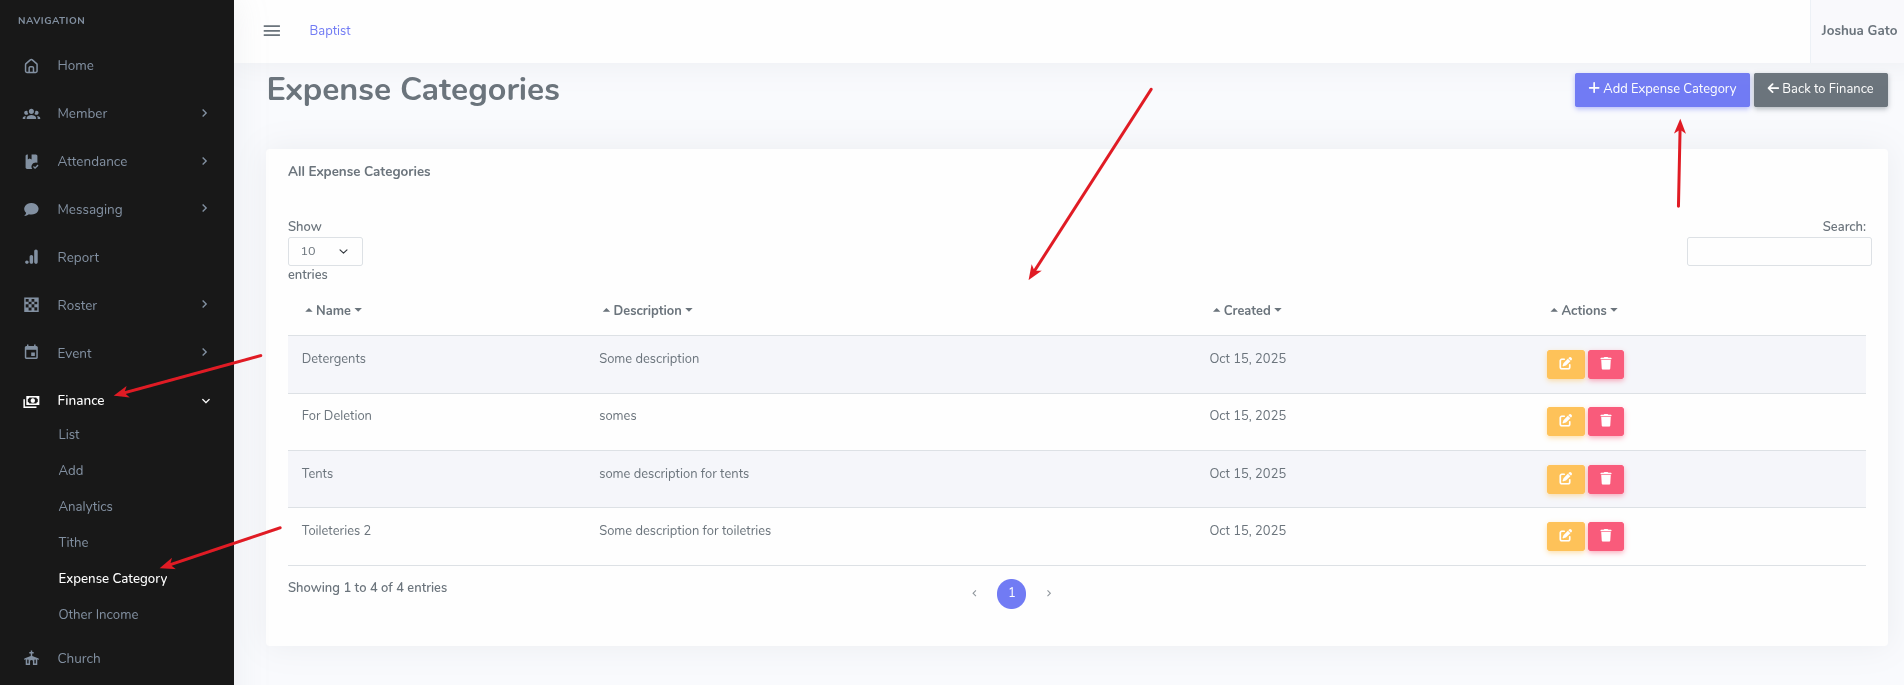
Add Expense Category
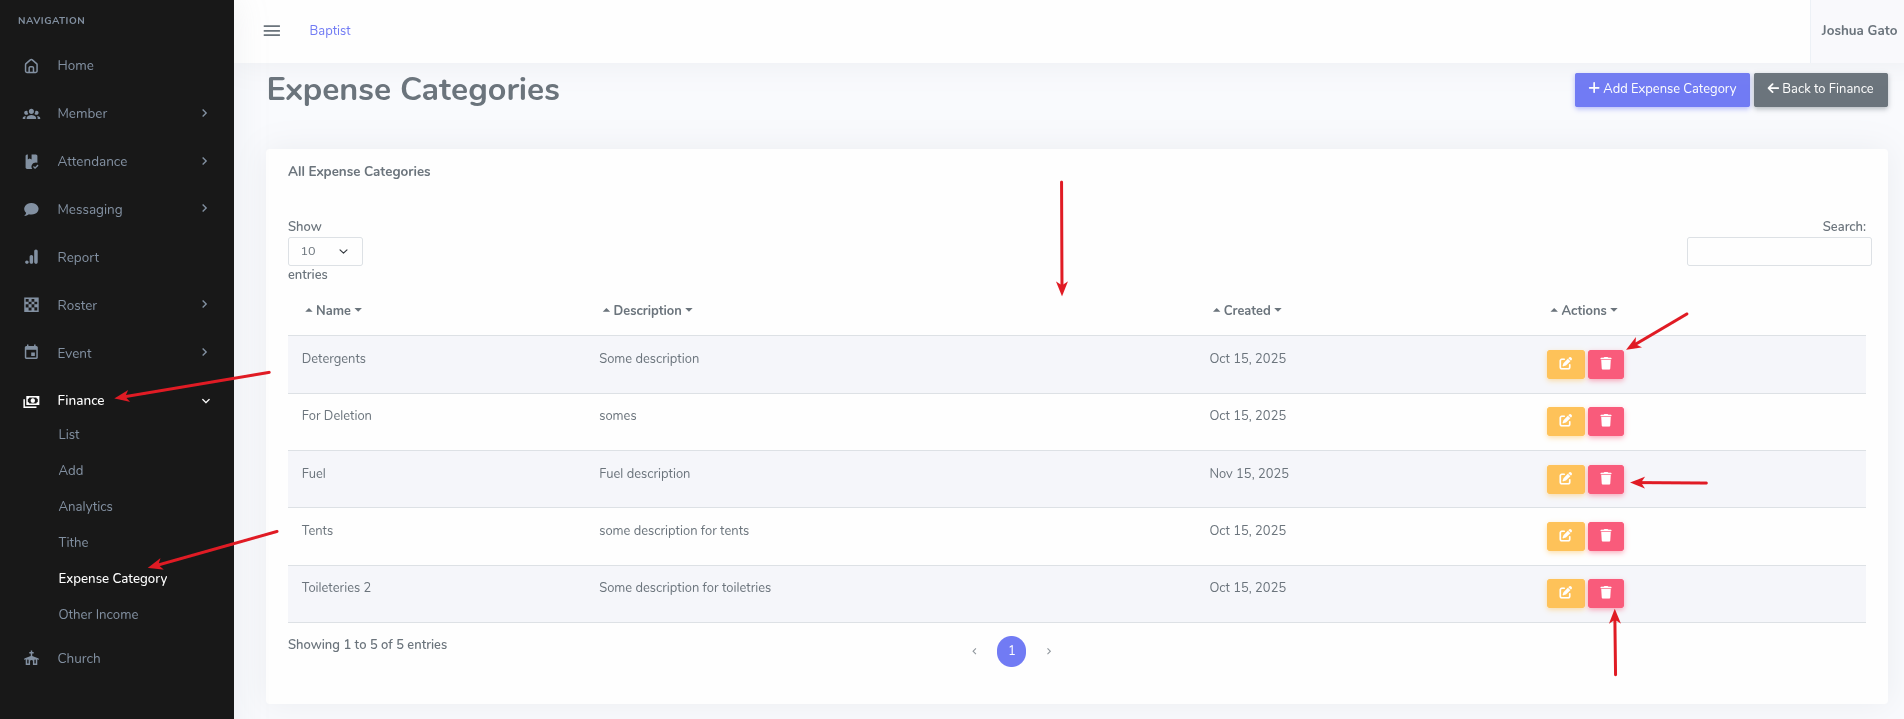
- On the dashboard, click on the Finance menu option on the left sidebar
- Under the dropdown that appears, click Expense Category for the list of expense categories to appear
- Click on the blue button labelled Add Expense Category
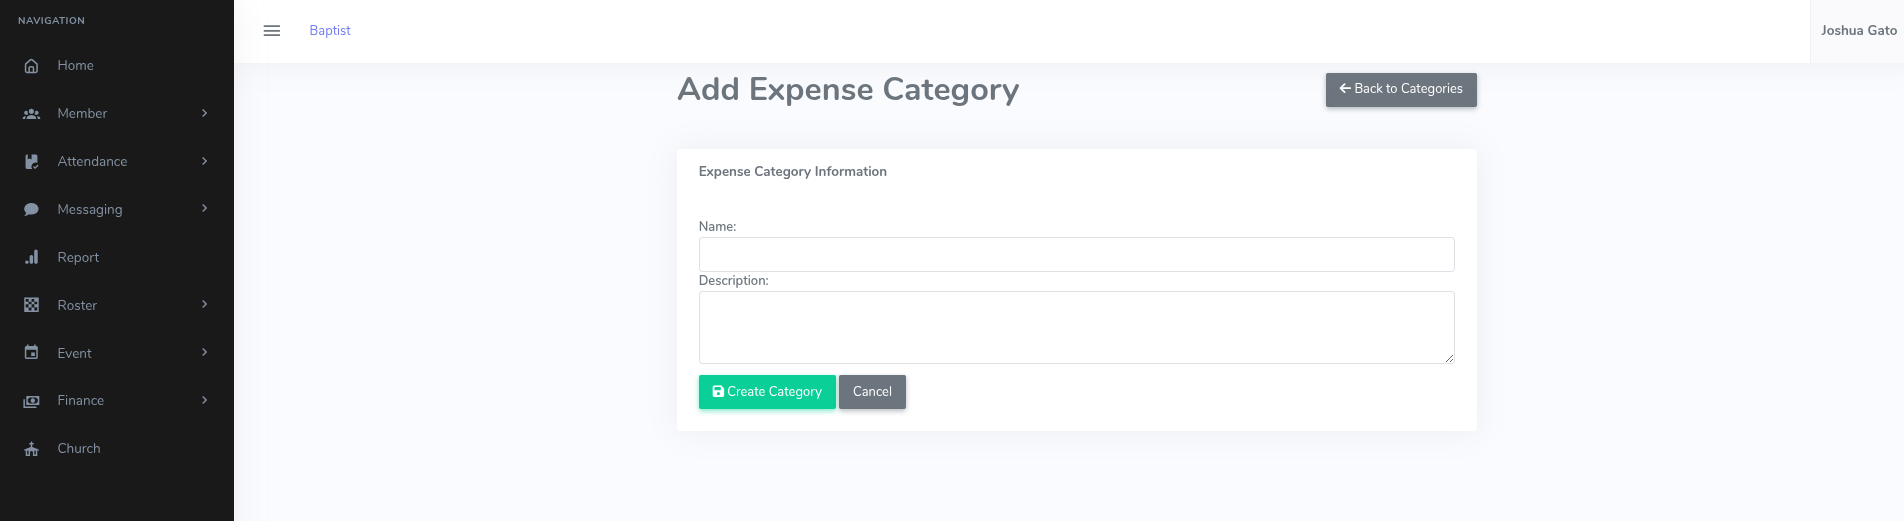
- On the Add Expense Category form:
- Enter a suitable Name for the expense category
- You can optionally enter a Description for the expense category
- Click on the green button labelled Create Other Income
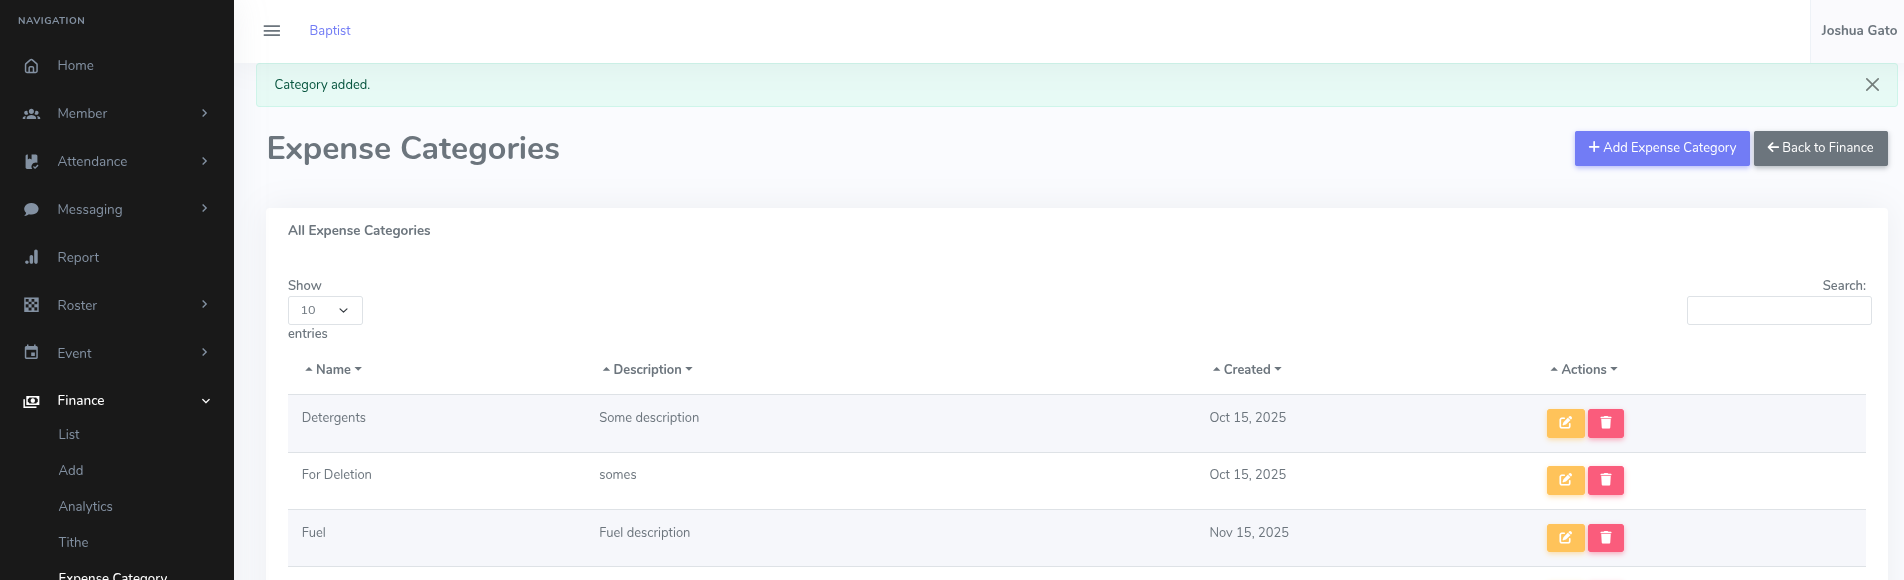
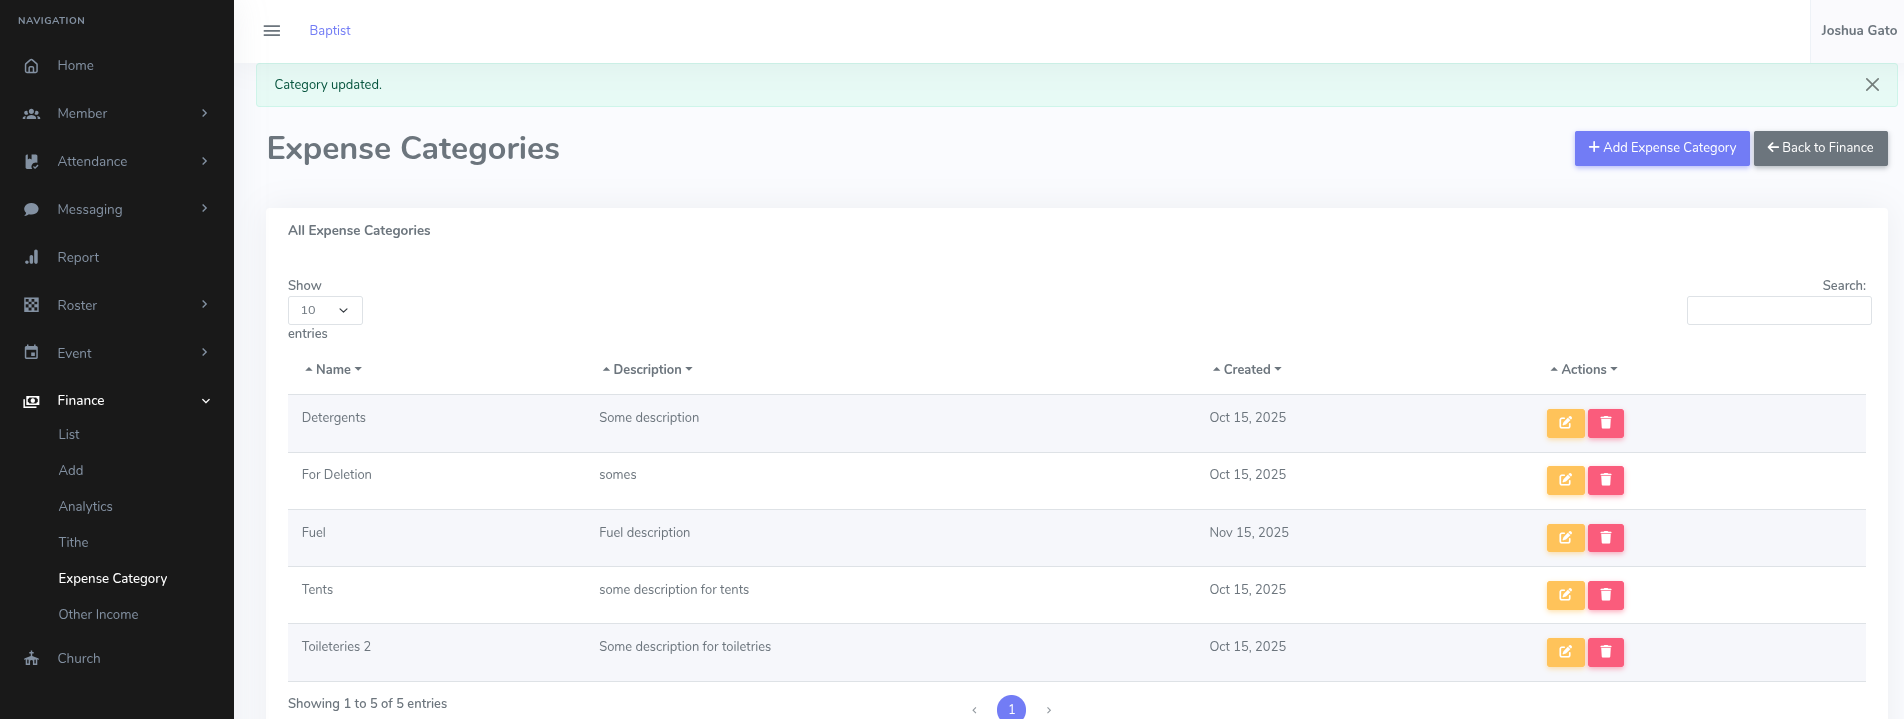
- If Successful, a success message will be displayed at the top like Category added.
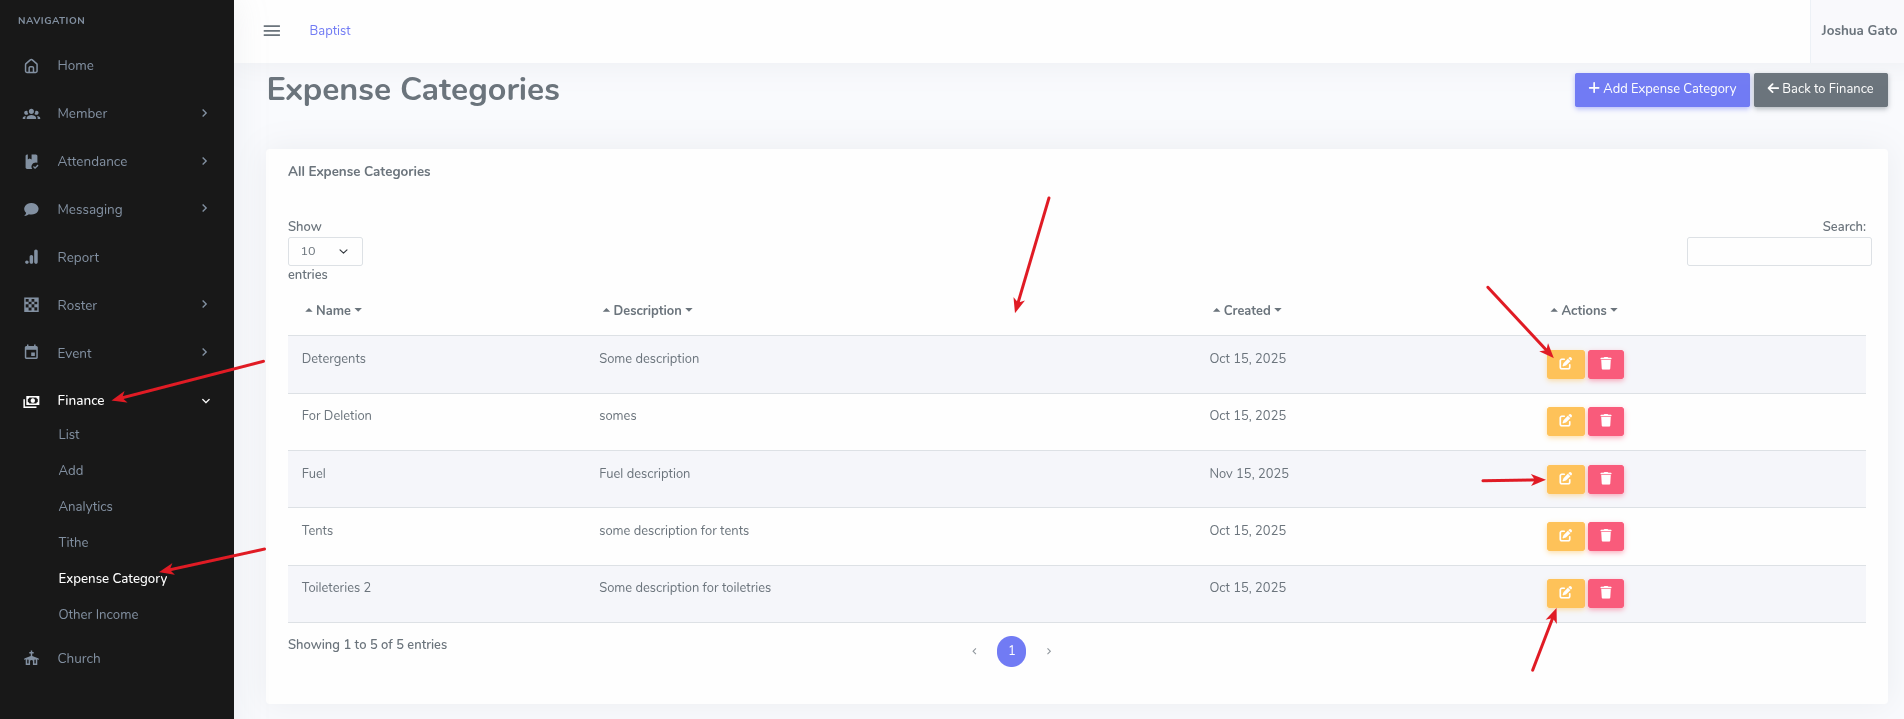
Edit/Update Expense Category
- On the list page, click the yellow Pencil on Paper Icon for the expense category whose details you want to update
- That should open the form which you can use to update the expense category's details
- Make the necessary changes and click the green Update Category button
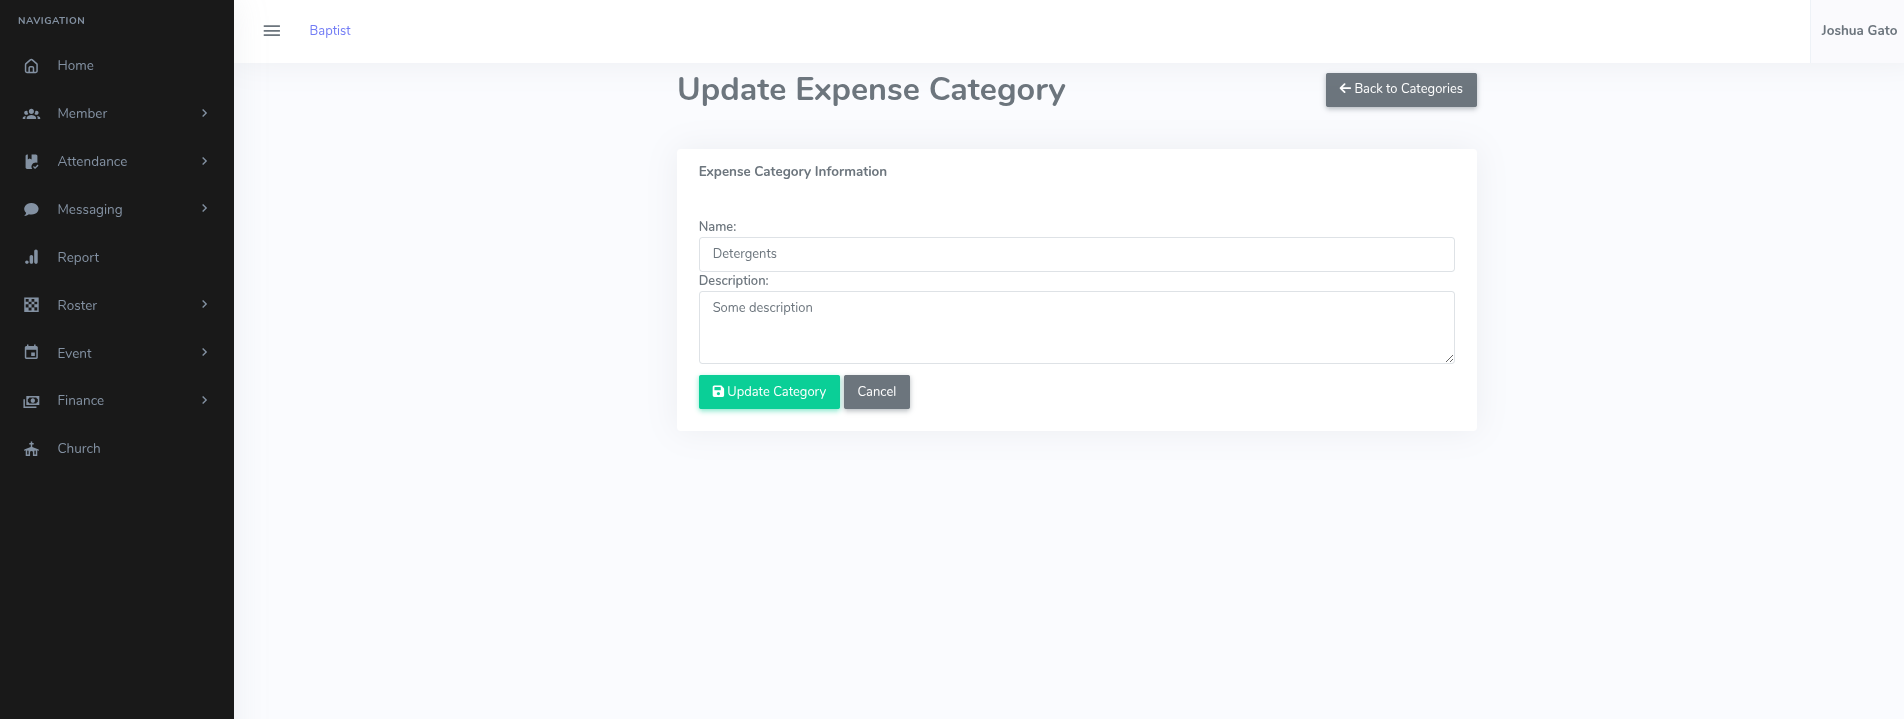
- If successful, you should see a message which reads: Category updated.
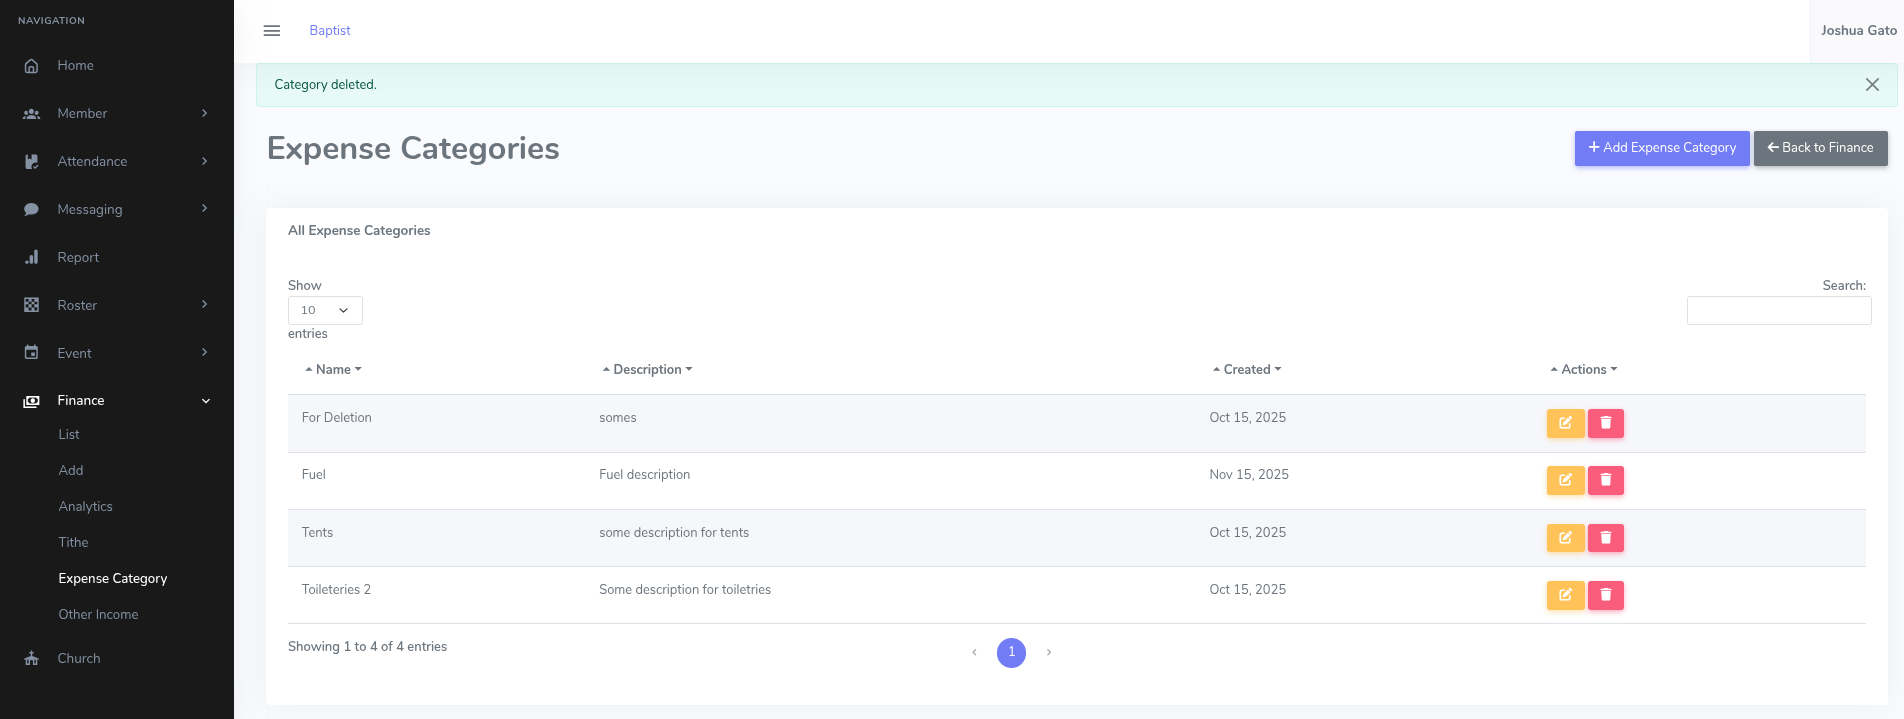
Delete Expense Category
- On the list page, click the Trash Can Icon for the expense category you want to delete
- That should open the delete confirmation page. Click on the red Yes, Delete This Category button.
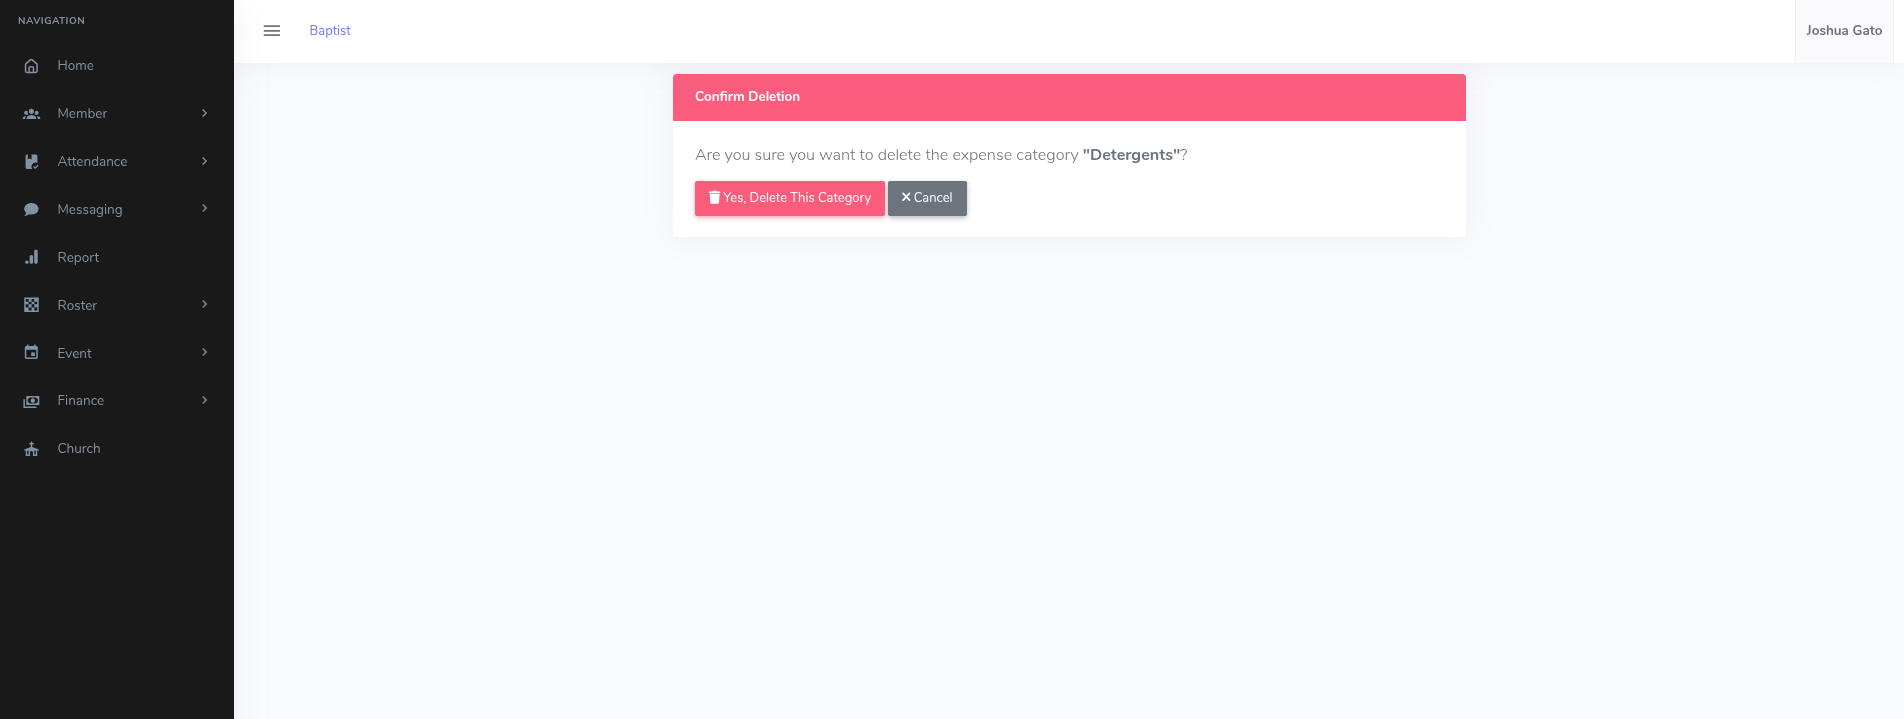
- If Successful, a success message will be displayed at the top like: Category deleted.
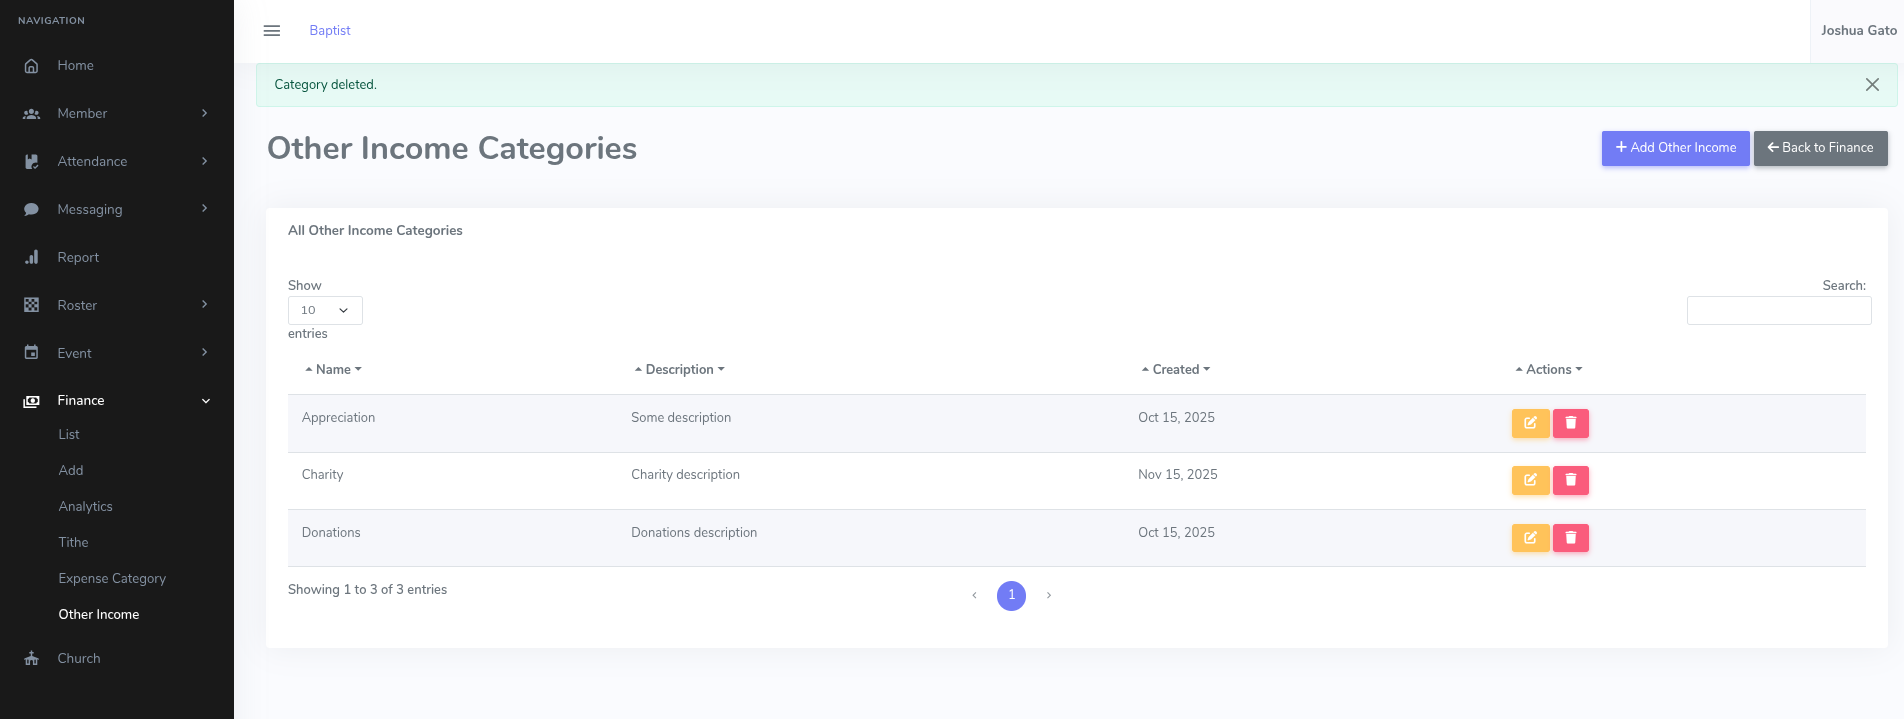
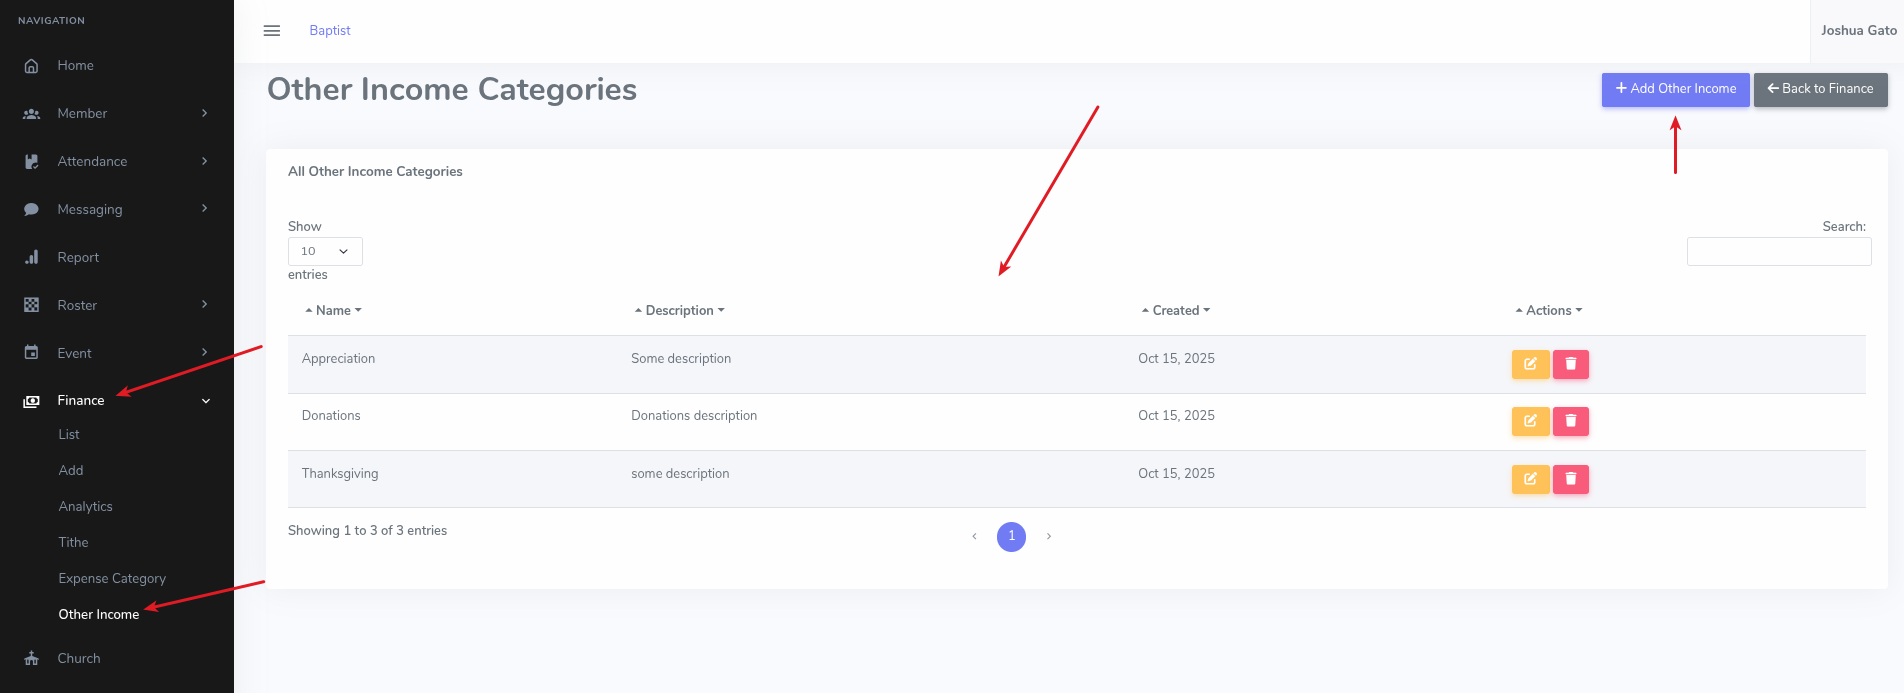
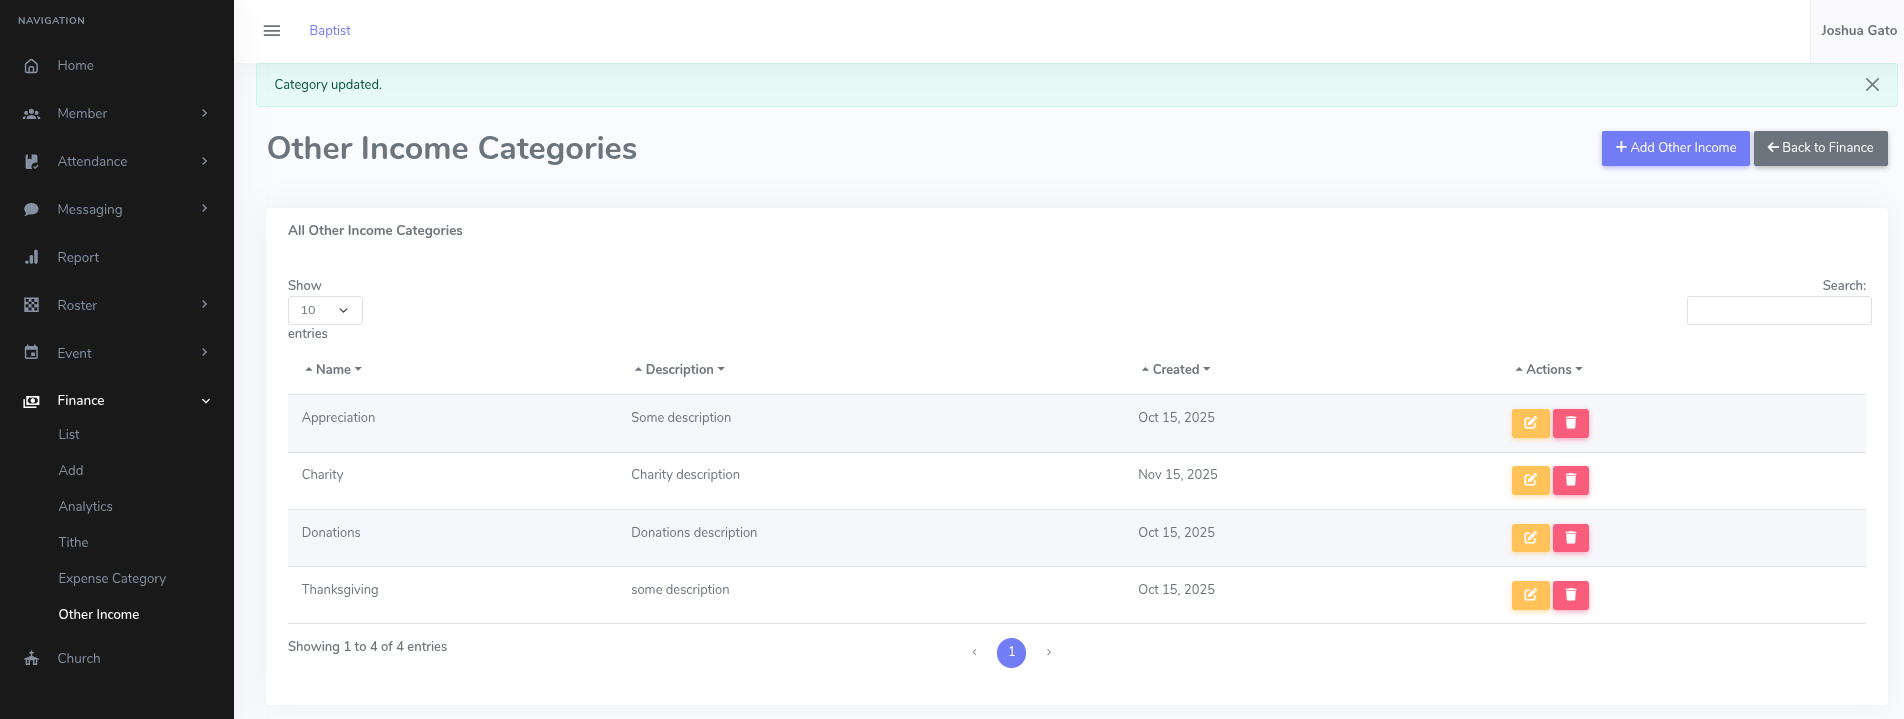
Add Other Income Category
- On the dashboard, click on the Finance menu option on the left sidebar
- Under the dropdown that appears, click Other Income for the list of other income categories to appear
- Click on the blue button labelled Add Other Income
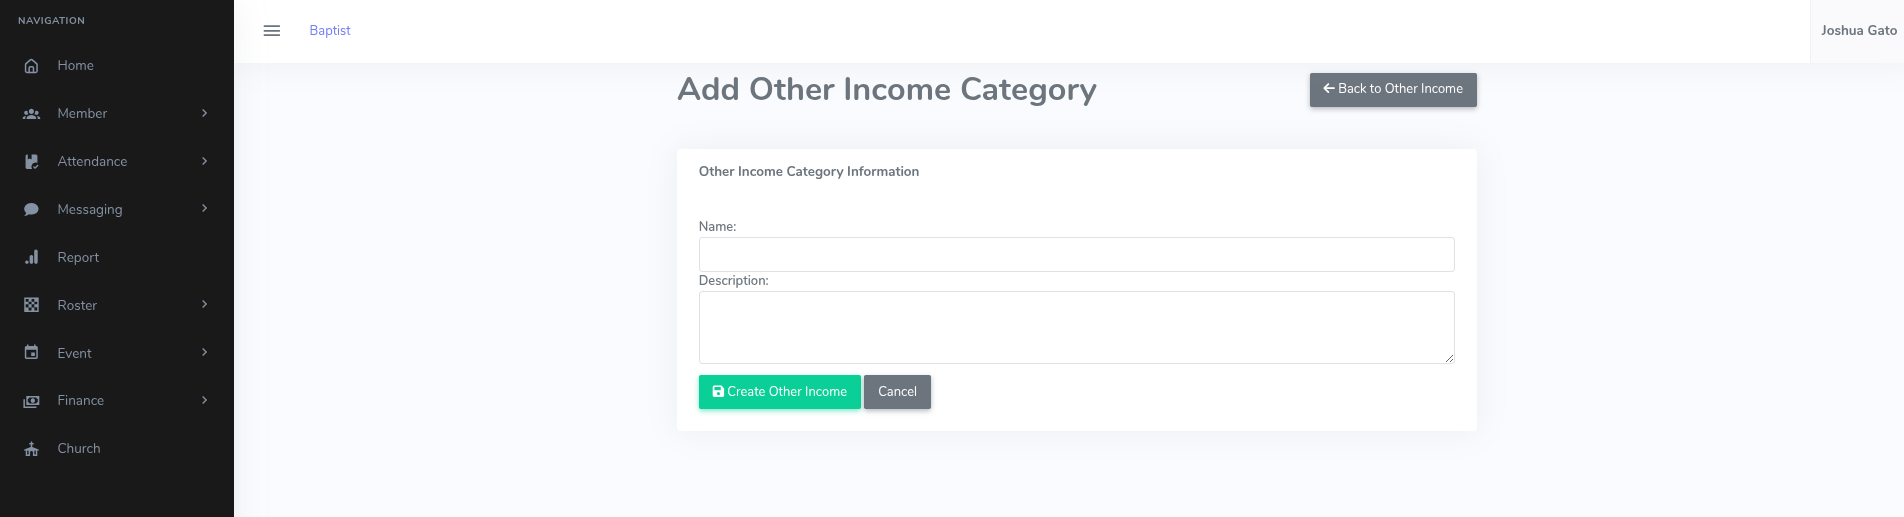
- On the Add Other Income form:
- Enter a suitable Name for the other income category
- You can optionally enter a Description for the other income category
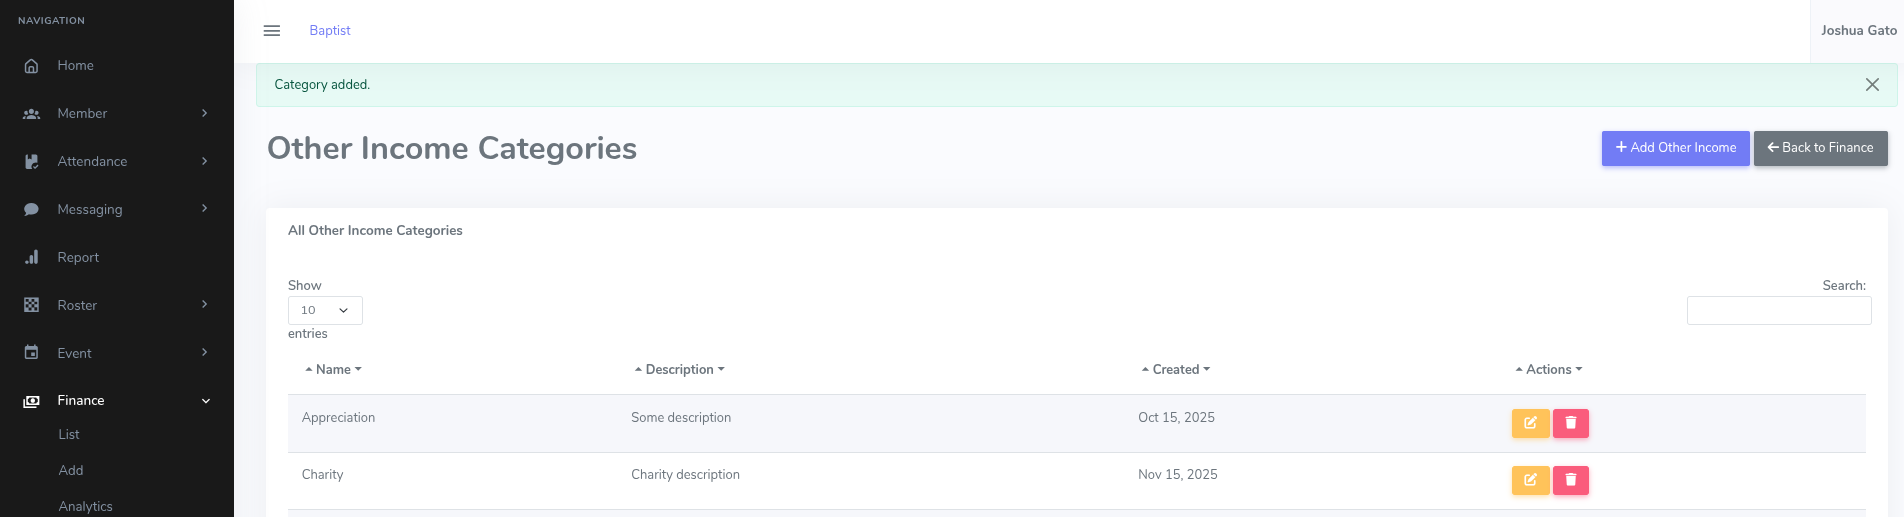
- Click on the green button labelled Create Other Income
- If Successful, a success message will be displayed at the top like Category added.
Edit/Update Other Income Category
- On the list page, click the yellow Pencil on Paper Icon for the other income category whose details you want to update

- That should open the form which you can use to update the other income category's details
- Make the necessary changes and click the green Update Other Income button
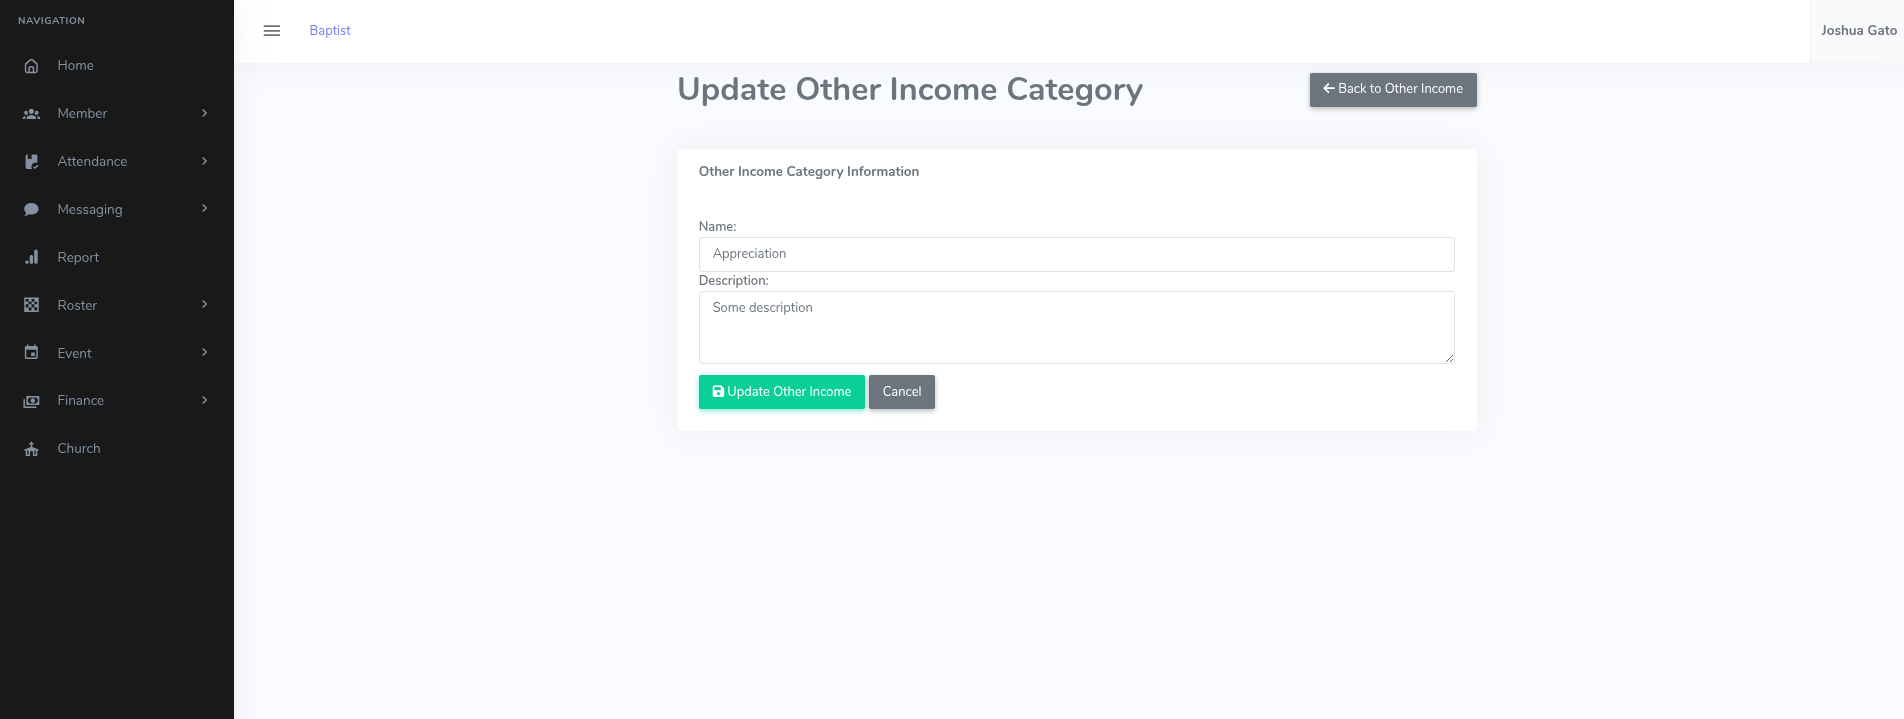
- If successful, you should see a message which reads: Category updated.
Delete Other Income Category
- On the list page, click the Trash Can Icon for the other income category you want to delete
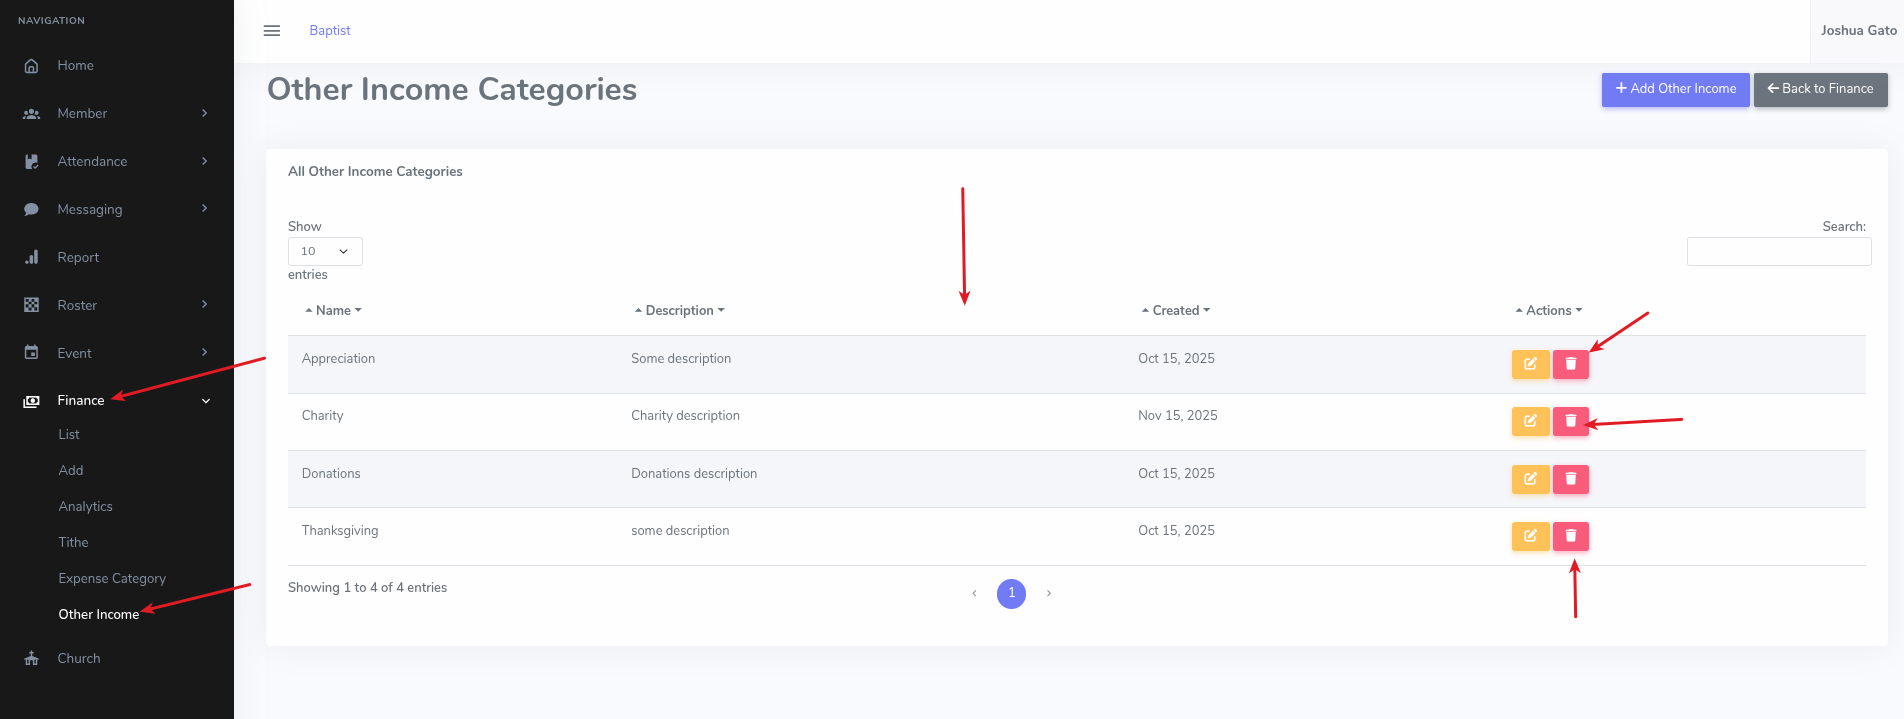
- That should open the delete confirmation page. Click on the red Yes, Delete This Category button.

- If Successful, a success message will be displayed at the top like: Category deleted.